If you're tired of watching your putts fly just past the hole, don't worry—you're not alone. For most golfers, horrible alignment is the silent killer of great putting. The great news? Ramping up your putting alignment isn't hocus pocus—it's a drillable skill. By highlighting excellent putting alignment drills, with tools like a flat golf ball, and adding the right putting alignment tips, you can transform your green game and start making putts confidently.
Why Alignment Is the Secret to Great Putting
Most golfers practice their stroke for hours, but ignore one of the most crucial elements of putting: alignment. Even your smooth stroke, or good alignment, will still push your ball off line. When eyes, shoulders, feet, and putter face are not aligned, your stroke compensates—and consistency is out of the question.
Practicing aligning your putts develops a consistent setup and stroke. This takes variables out of the picture so that you can focus on speed and green reading instead of worrying about whether you're even aimed at the hole.
Important Putting Drills for Alignment
Practicing aligning does not have to be painful. Give these three extremely helpful putting drills for alignment and get you rolling the ball onto your target line every time a try:
1. The Chalk Line Drill
One of the simpler but best alignment practice exercises utilizes a chalk line. Place a level chalk line from your position to the hole. Place a few putting golf balls along the line and practice making putts that stay on the chalk.
This drill gives you immediate visual confirmation—if your ball comes off line, your alignment or stroke needs work. It also works wonderfully for short putt confidence building.
Pro Tip: Practice from several distances, starting at 3 feet and gradually increasing to 6 feet or 9 feet as you develop accuracy.
2. The Gate Drill
For this classic drill, set two tees in the ground just slightly wider than your putter head, creating a “gate.” Place your ball 3-5 feet from the hole and stroke putts through the gate.
This forces your putter to travel straight through impact while reinforcing proper putting alignment. If your putter face is open or closed, you’ll strike the tees—clear proof your stroke or setup needs adjustment.
Added Challenge: Place a second gate a foot in front of your ball. You must now start the ball on line through both gates to the hole, giving you twice the feedback on line.
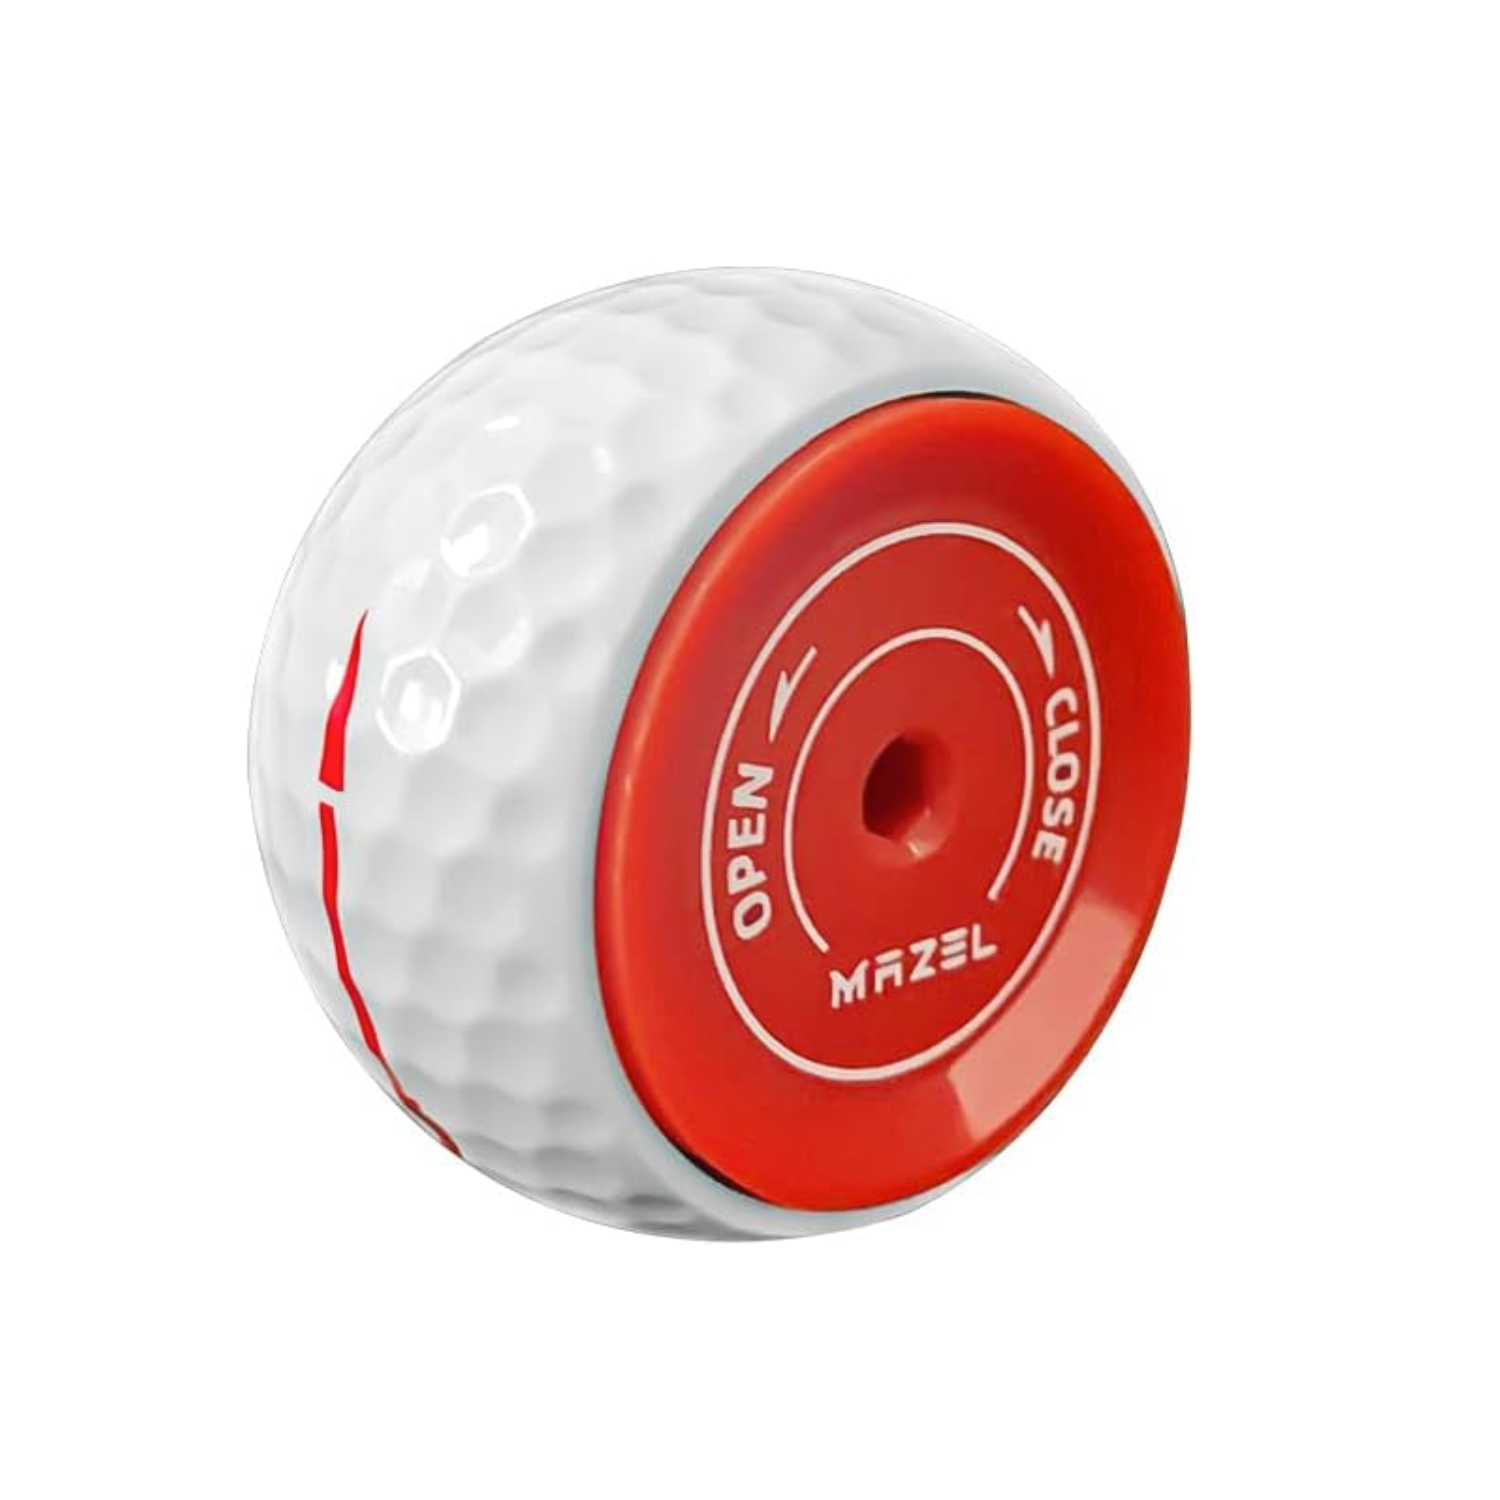
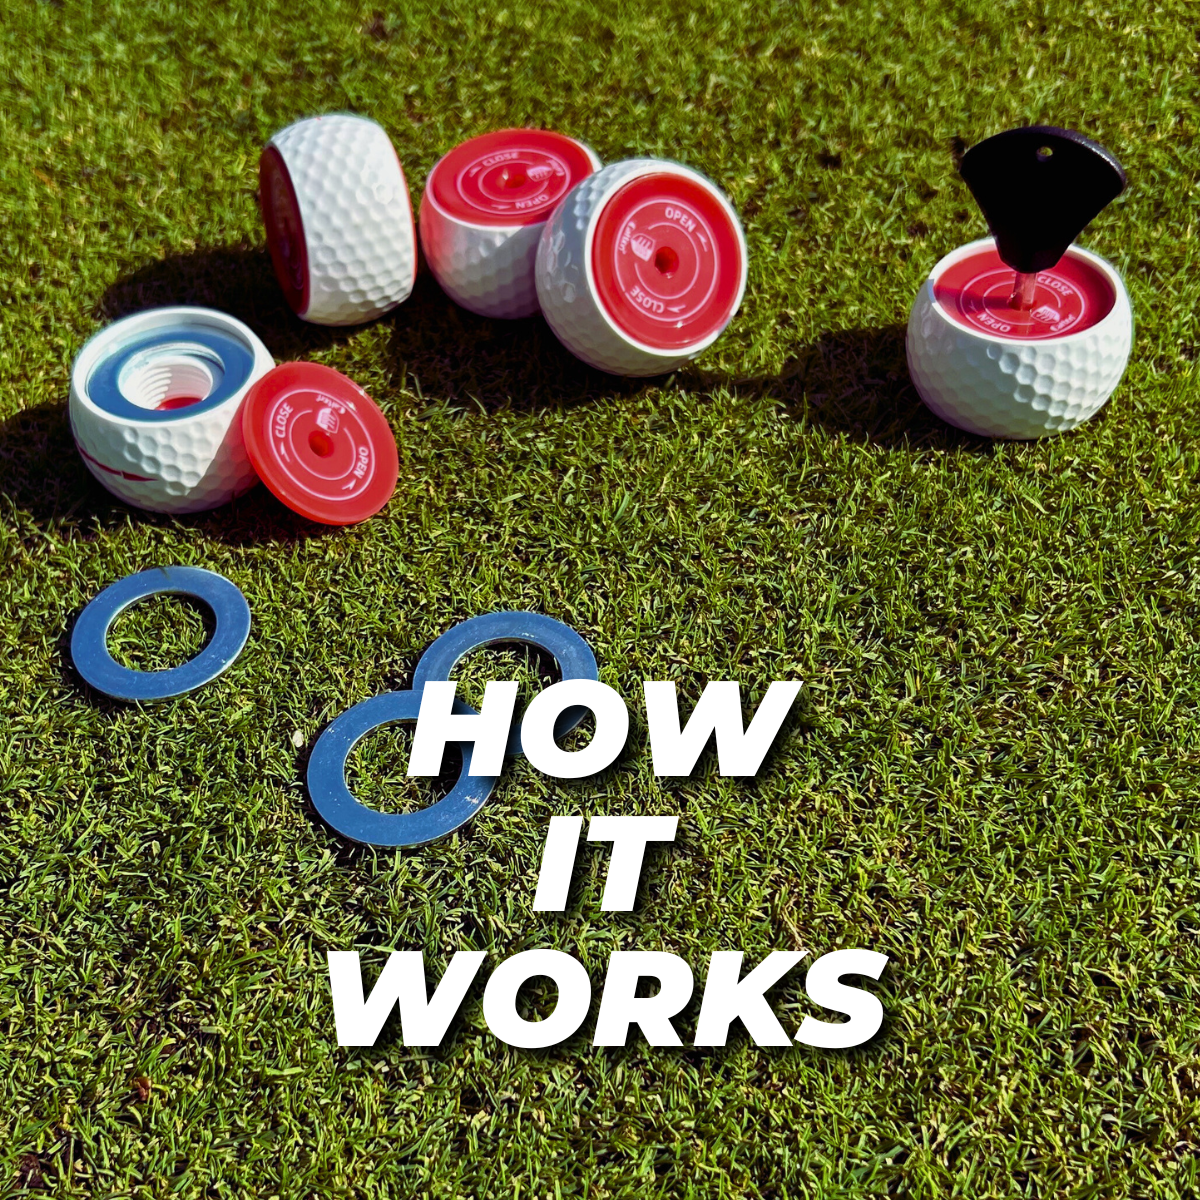
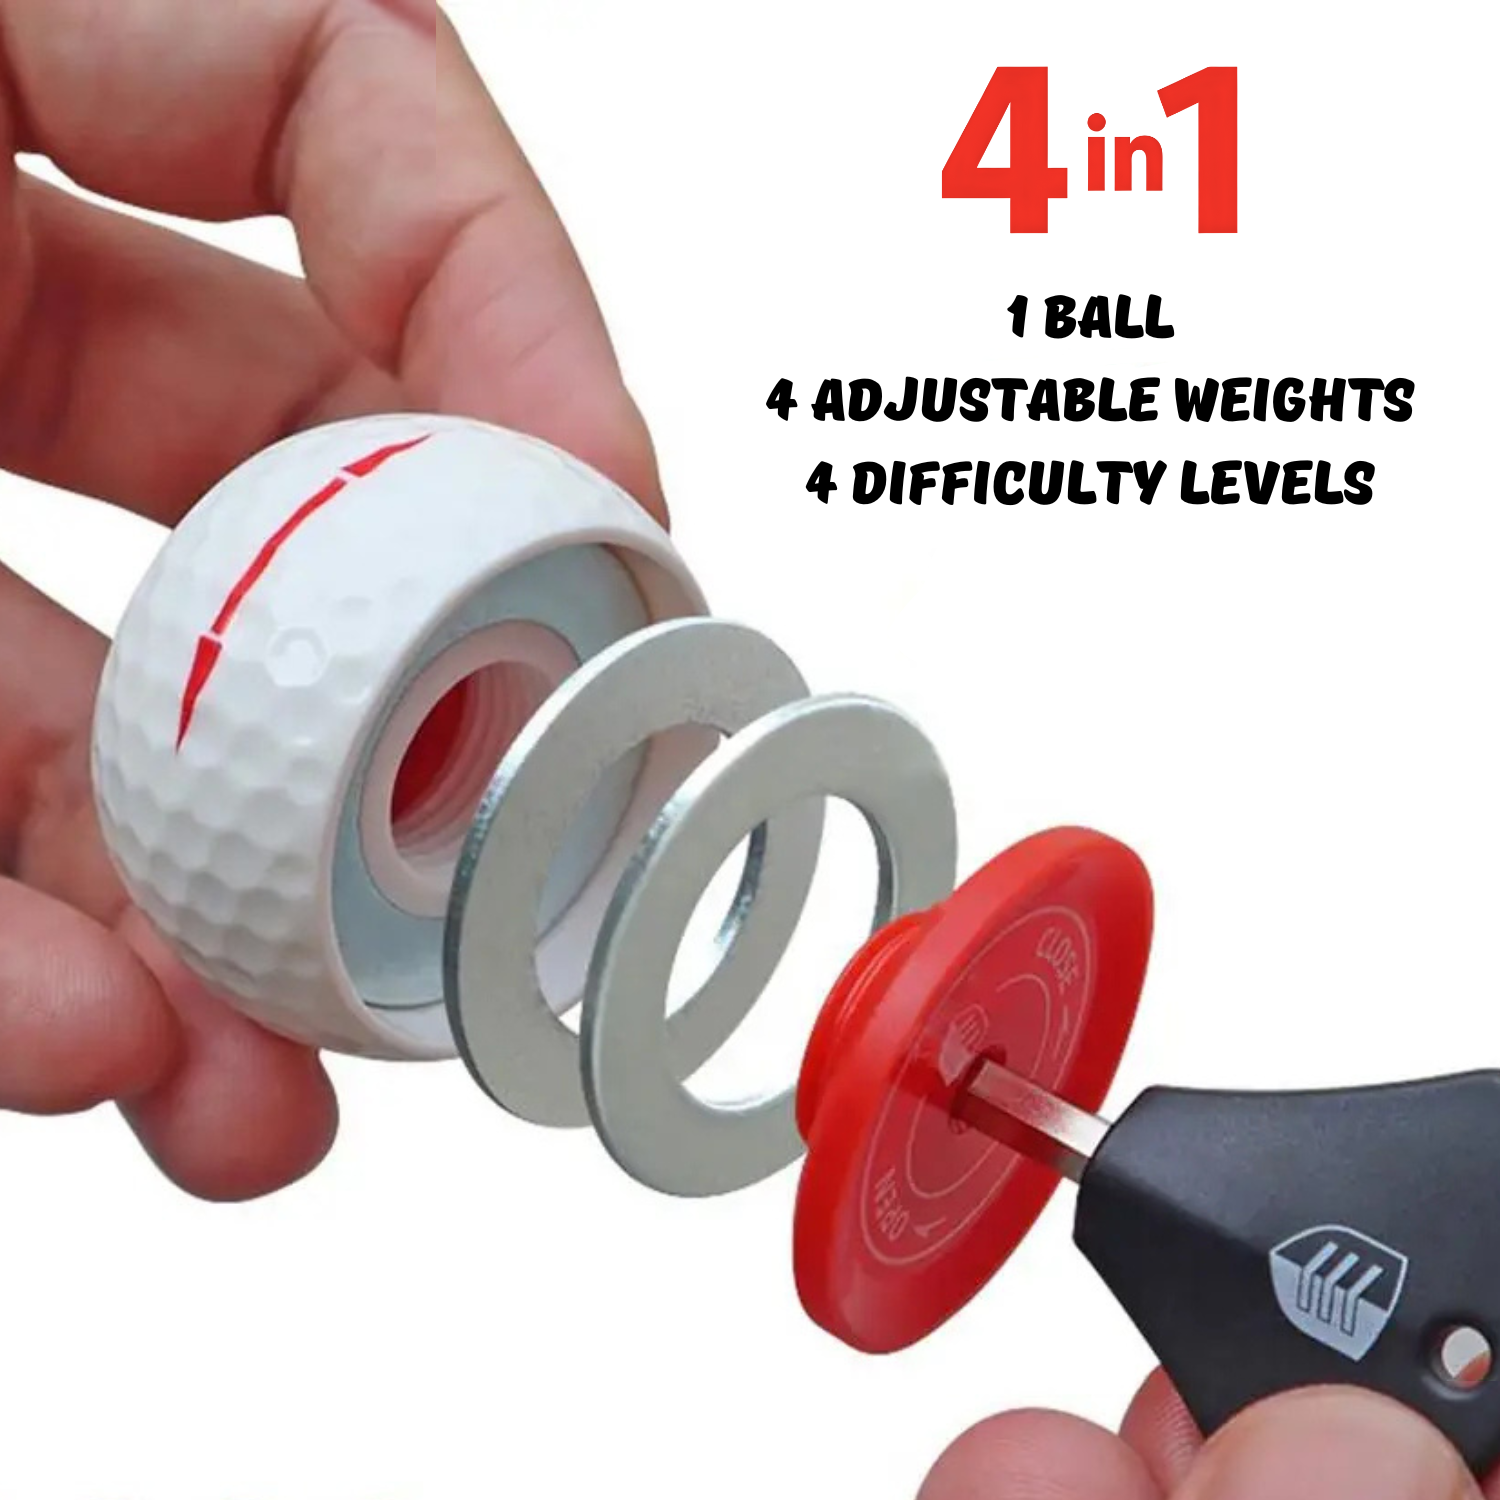
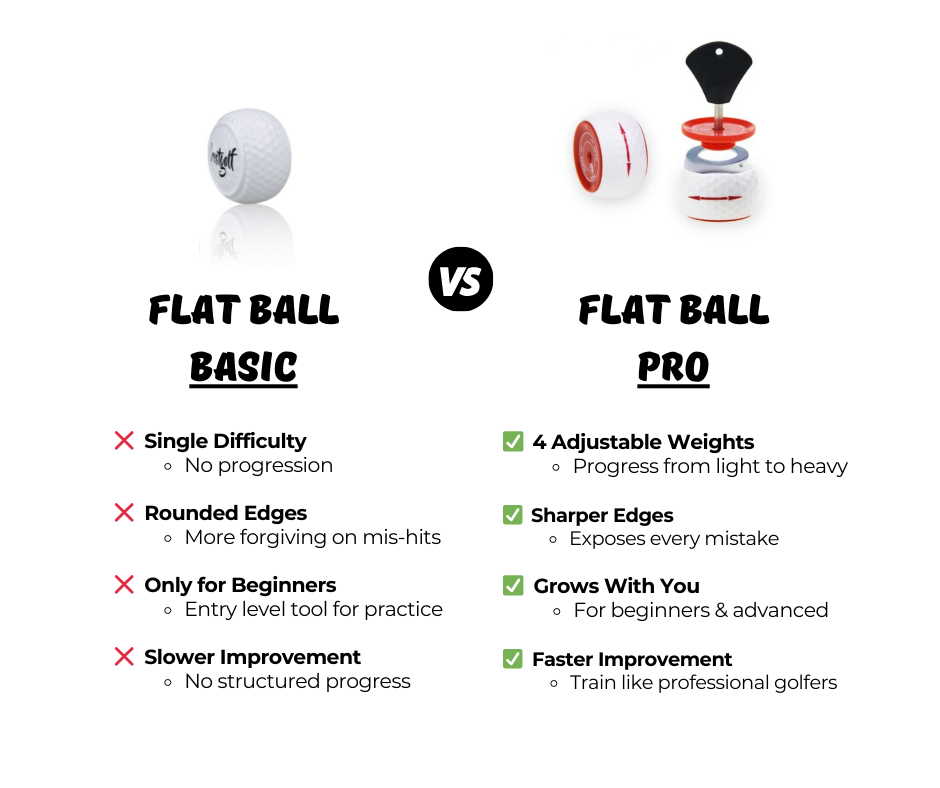
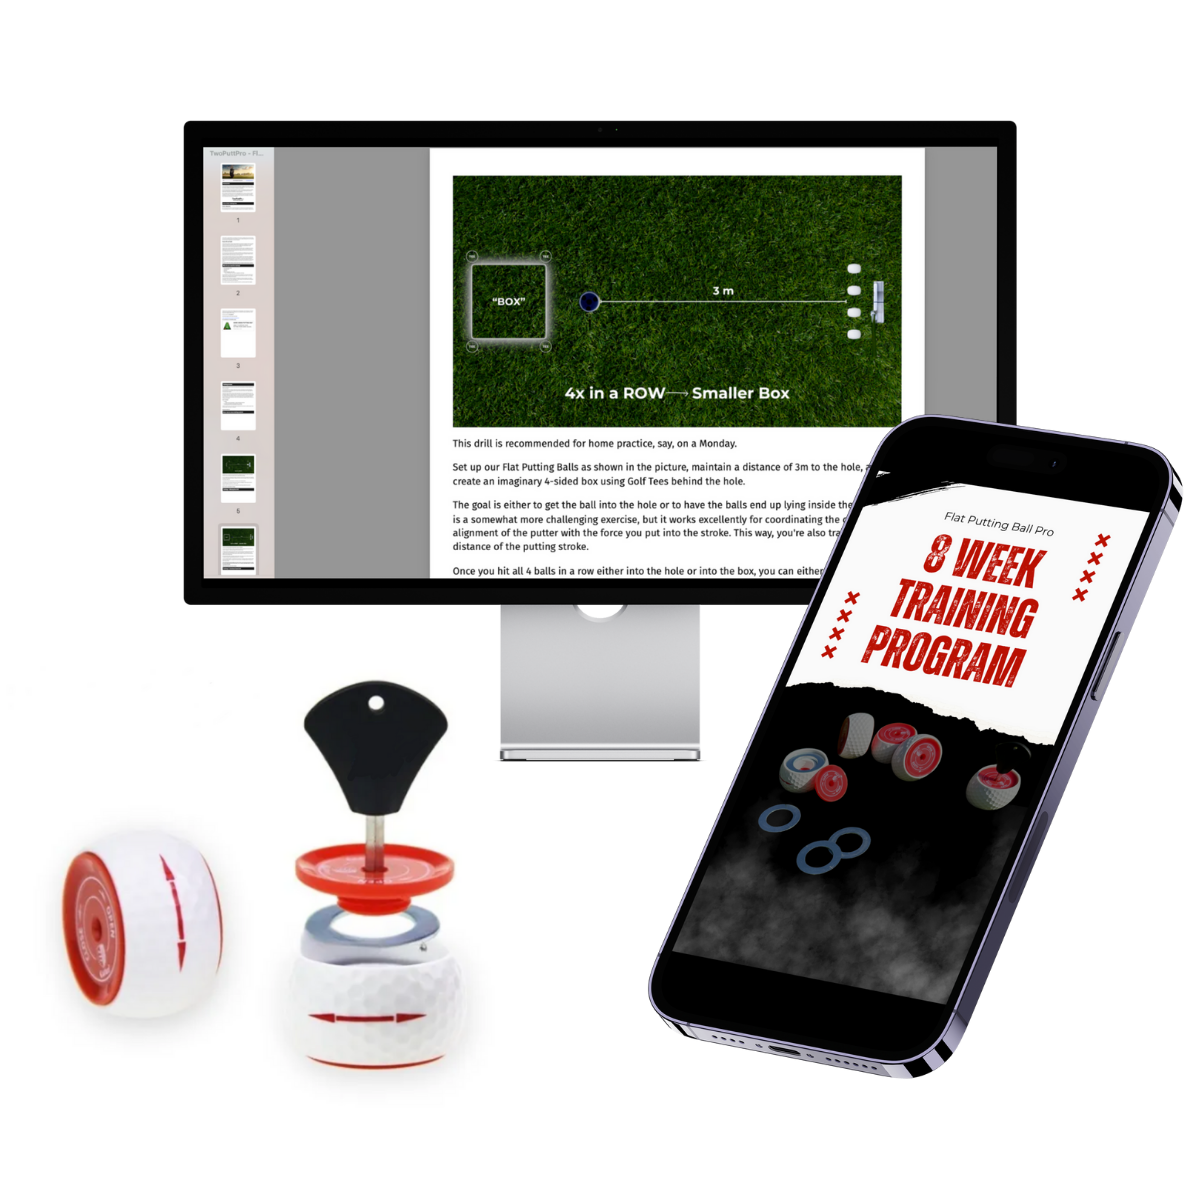
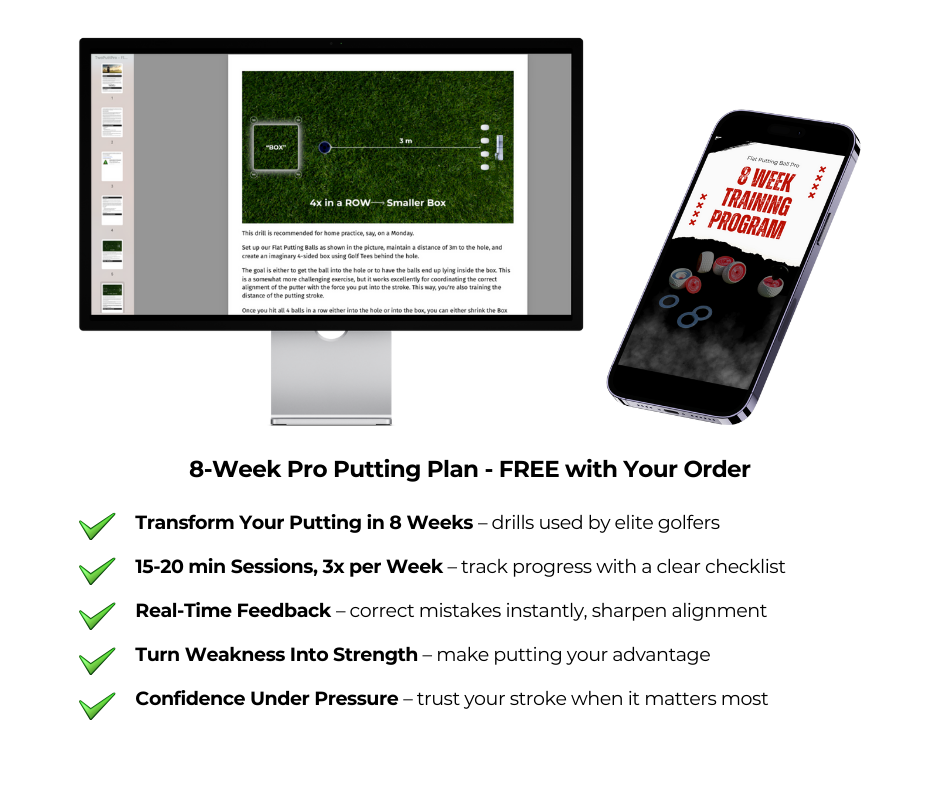
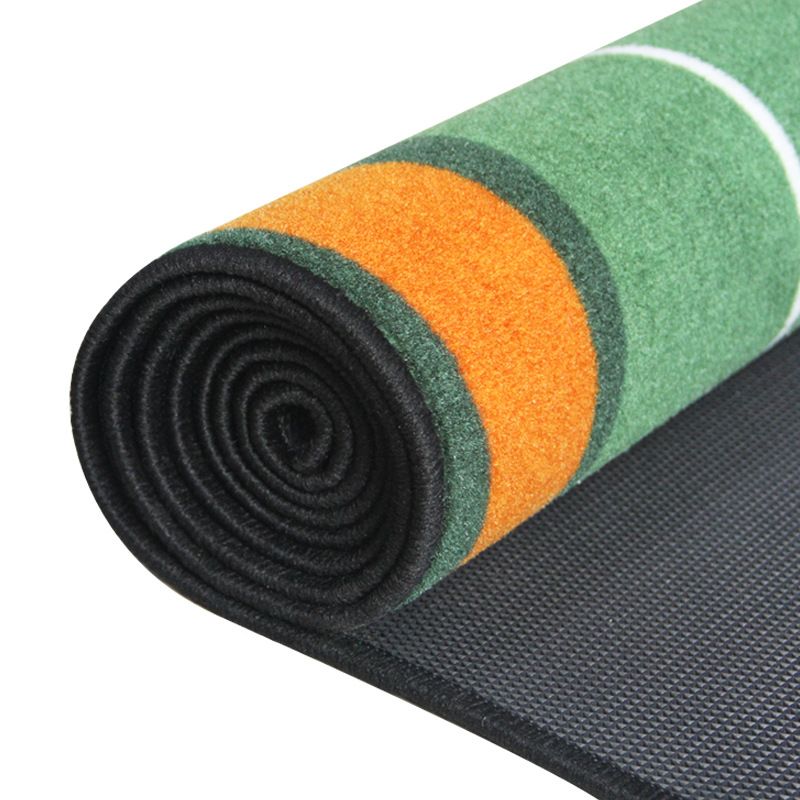
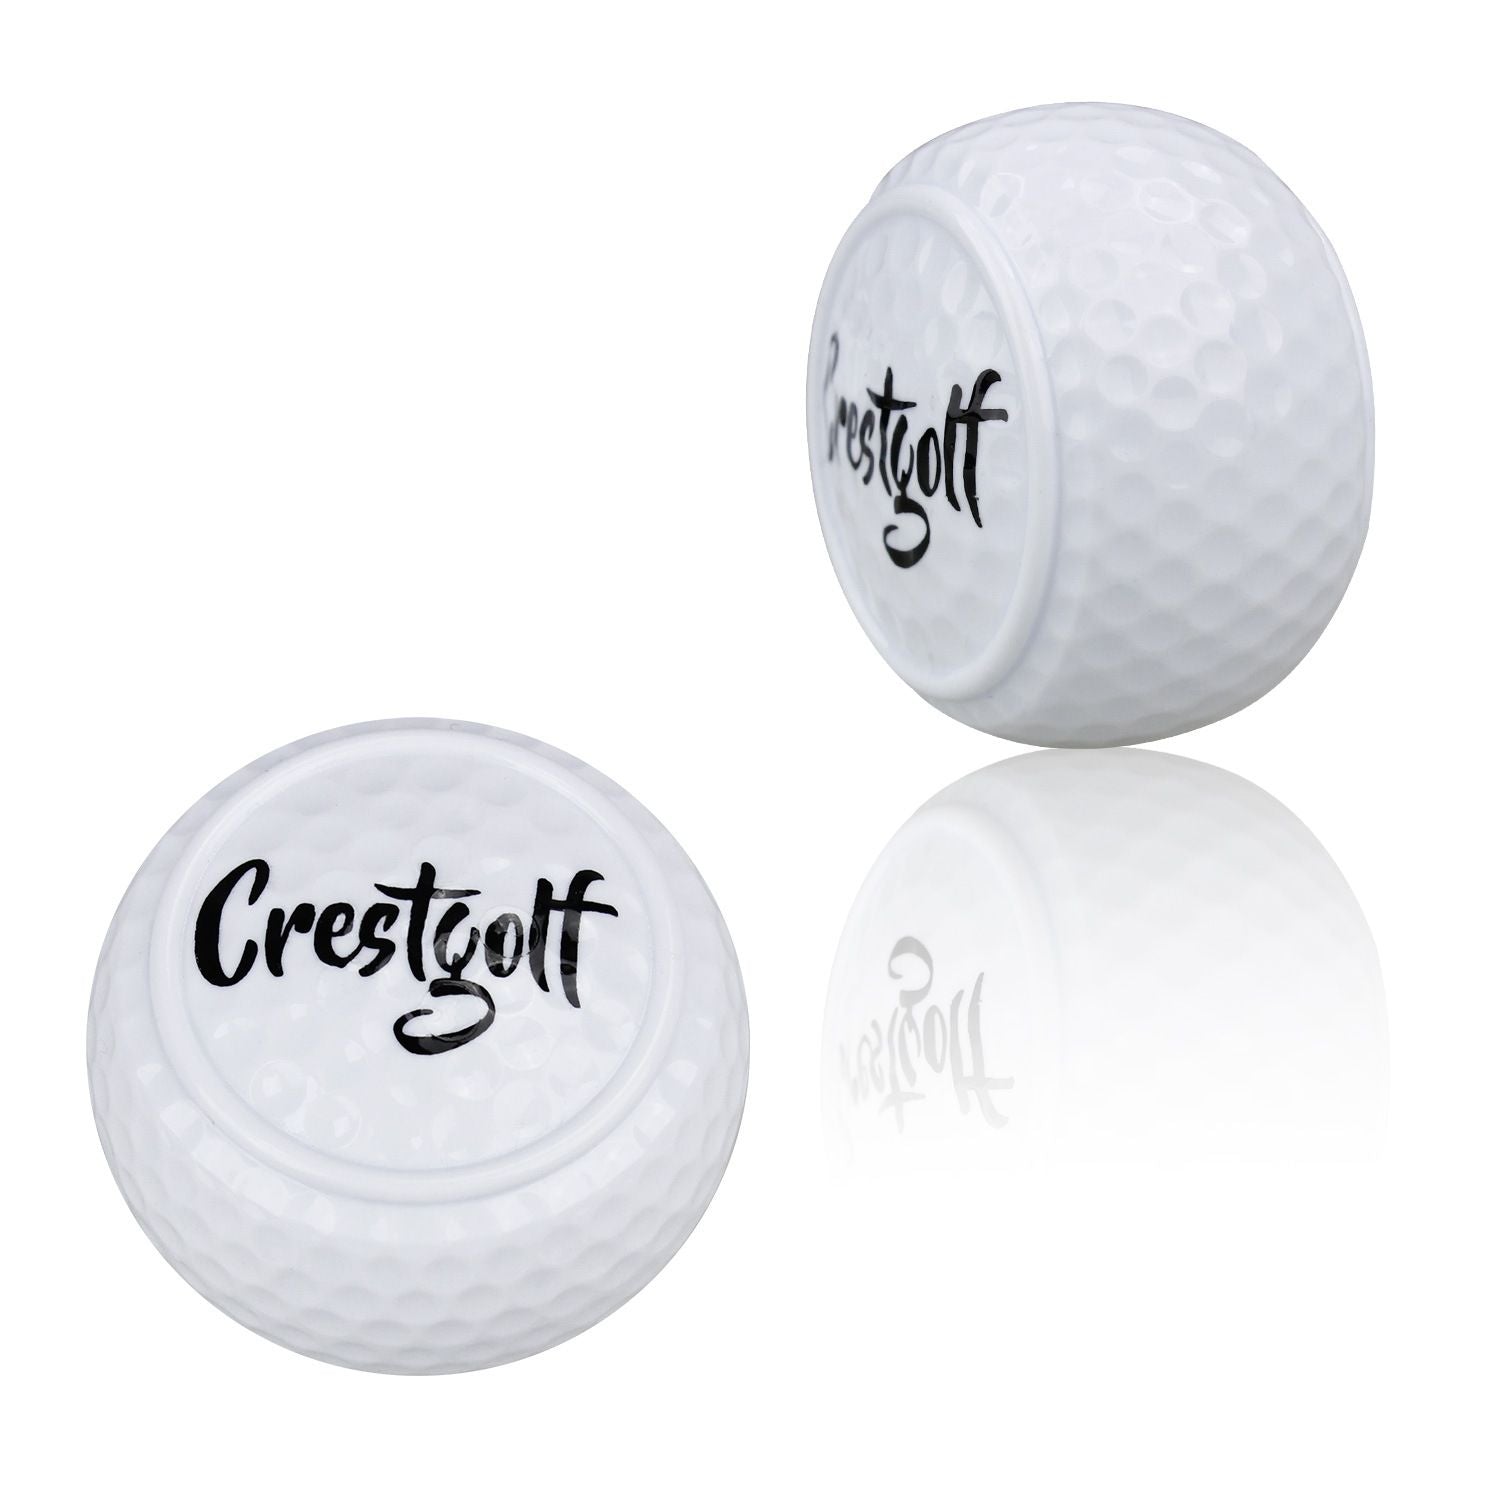
3. The Flat Golf Ball Drill
Practicing with a flat golf ball is one of the best-kept secrets for mastering alignment. Flat golf balls exaggerate any flaws in your stroke—if you’re even slightly misaligned or off-plane, the ball will wobble or veer offline.
Start with straight putts on a flat surface. Focus on a square setup: eyes over the ball, shoulders parallel to the target line, and a square putter face. Hit putts and watch the ball’s roll closely. A straight, end-over-end roll means you’re dialed in; any deviation signals misalignment or stroke issues.

Putting Alignment Tips for Consistency
Besides drills, a daily routine can have your alignment become second nature. Here are some easy but great putting alignment tips:
• Take a Look: Keep your eyes directly over or just ahead of the ball. The best way to check is to drop a ball from the bridge of your nose—if it lands on your ball, your eyes are in the correct position.
• Square Your Shoulders: Set your shoulders at right angles to your preferred putting line. Unsquare shoulders result in pulling or pushing putts.
• Quiet Lower Body: Keep your lower body quiet while stroking. Too much motion will knock your alignment off, even if your alignment is proper.
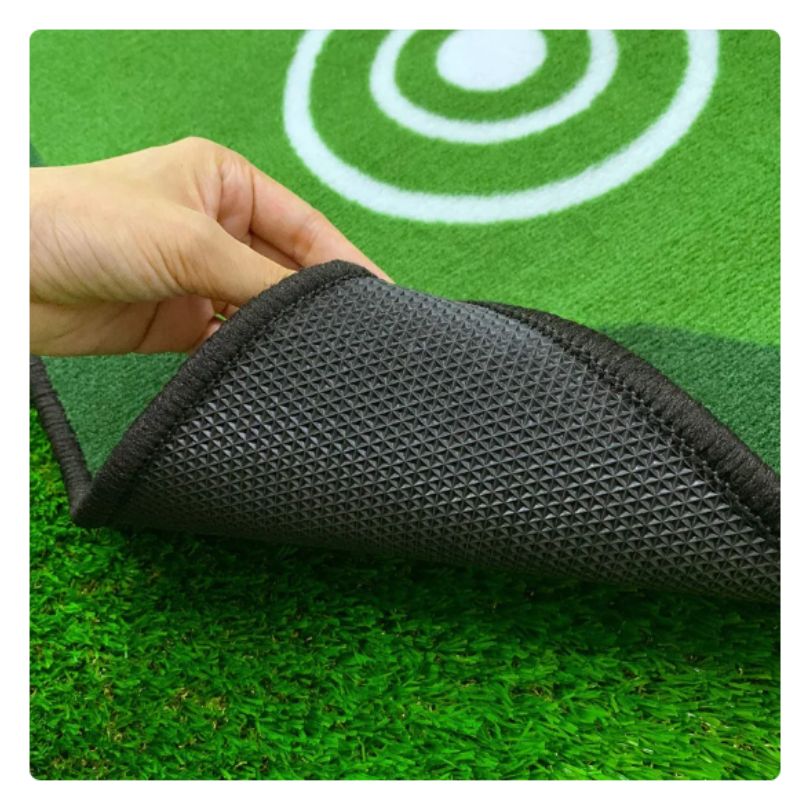
• Use Alignment Aids: Most putting golf balls have alignment lines. Align your target line, putter face, and stance with these.
How Flat Golf Balls Enhance Your Alignment Practice
So why add a flat golf ball to your routine? Because they accentuate mistakes, giving you crystal-clear feedback. If you can roll a flat golf ball dead straight, you're basically forcing yourself to get alignment and stroke path precisely right.
Flat balls also help you develop touch. Because they are less forgiving than regular balls, they force you to strike the ball with precise, controlled swings—skills that translate directly to better putting with regular balls.
Creating a Routine using Putting Alignment Drills
No agenda practice won't cut it. Here is a simple week-by-week routine to add these drills to your practice:
• Day 1: Chalk Line Drill (15 minutes) – Working on taking the ball from your line at impact.
• Day 2: Gate Drill (15 minutes) – Developing putter path and face control.
• Day 3: Flat Golf Ball Drill (20 minutes) – Developing alignment and stroke consistency with greater challenge.
• Day 4: Combine Drills (15 minutes) – Alternating chalk line and gate drills for an overall alignment fine-tuning.
Stick to this schedule for a few weeks, and you’ll start seeing putts dropping with regularity.
Why Two Putts Should Be Your Goal
Statistically, elite golfers average just under 1.8 putts per green—hence the benchmark of a two putt. By practicing these alignment drills and adopting a disciplined routine, you’ll develop the confidence to consistently two-putt (or better) on every green.
Remember: it's not sinking every putt but avoiding three-putts. Aligning is the key that gives you the best chance to leave tap-in second putts and play lower scores.
Conclusion: Laser-Focused Putting Starts with Alignment
You don’t need to overhaul your stroke or spend thousands on new equipment. By incorporating these putting alignment drills, using flat golf balls, and committing to practicing your alignment regularly, you’ll sharpen your accuracy and drastically reduce missed putts.
The next time you step onto the green, you'll feel confident your vision is honest and your stroke is powerful. Start today, and let your flat golf ball guide you to laser-focused putting.