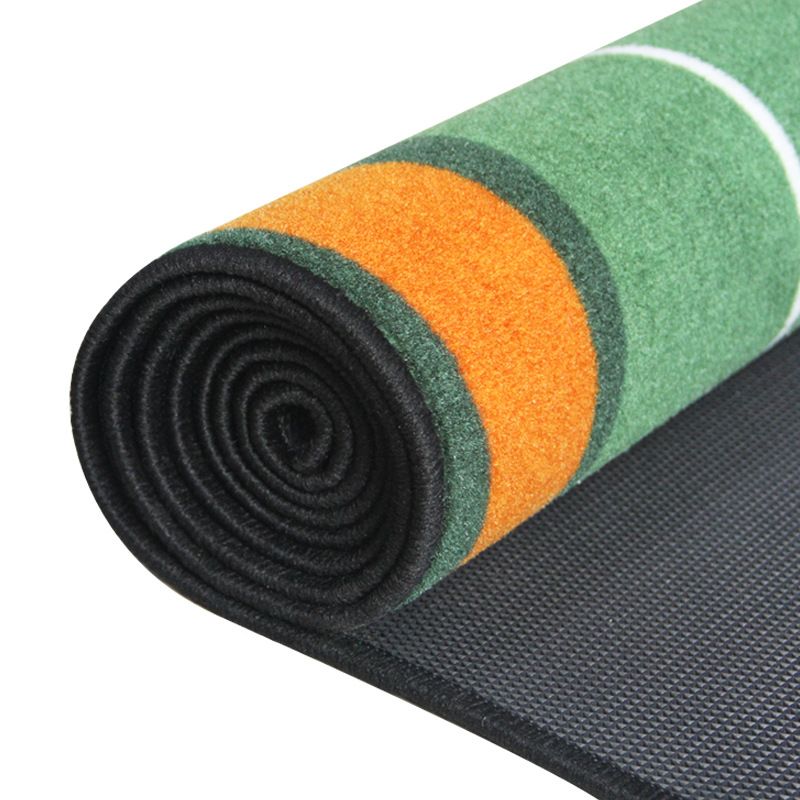
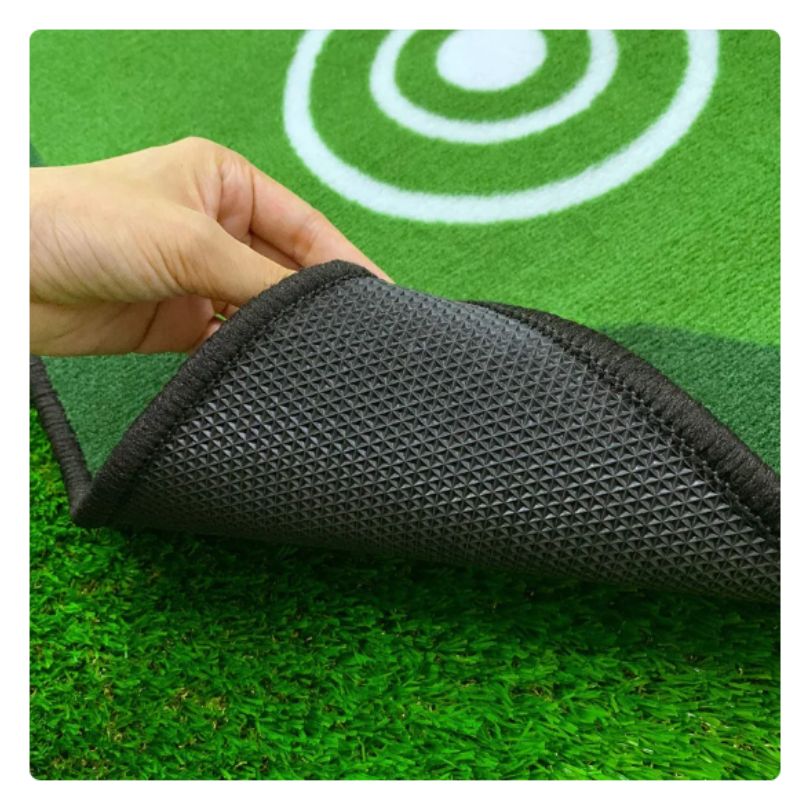
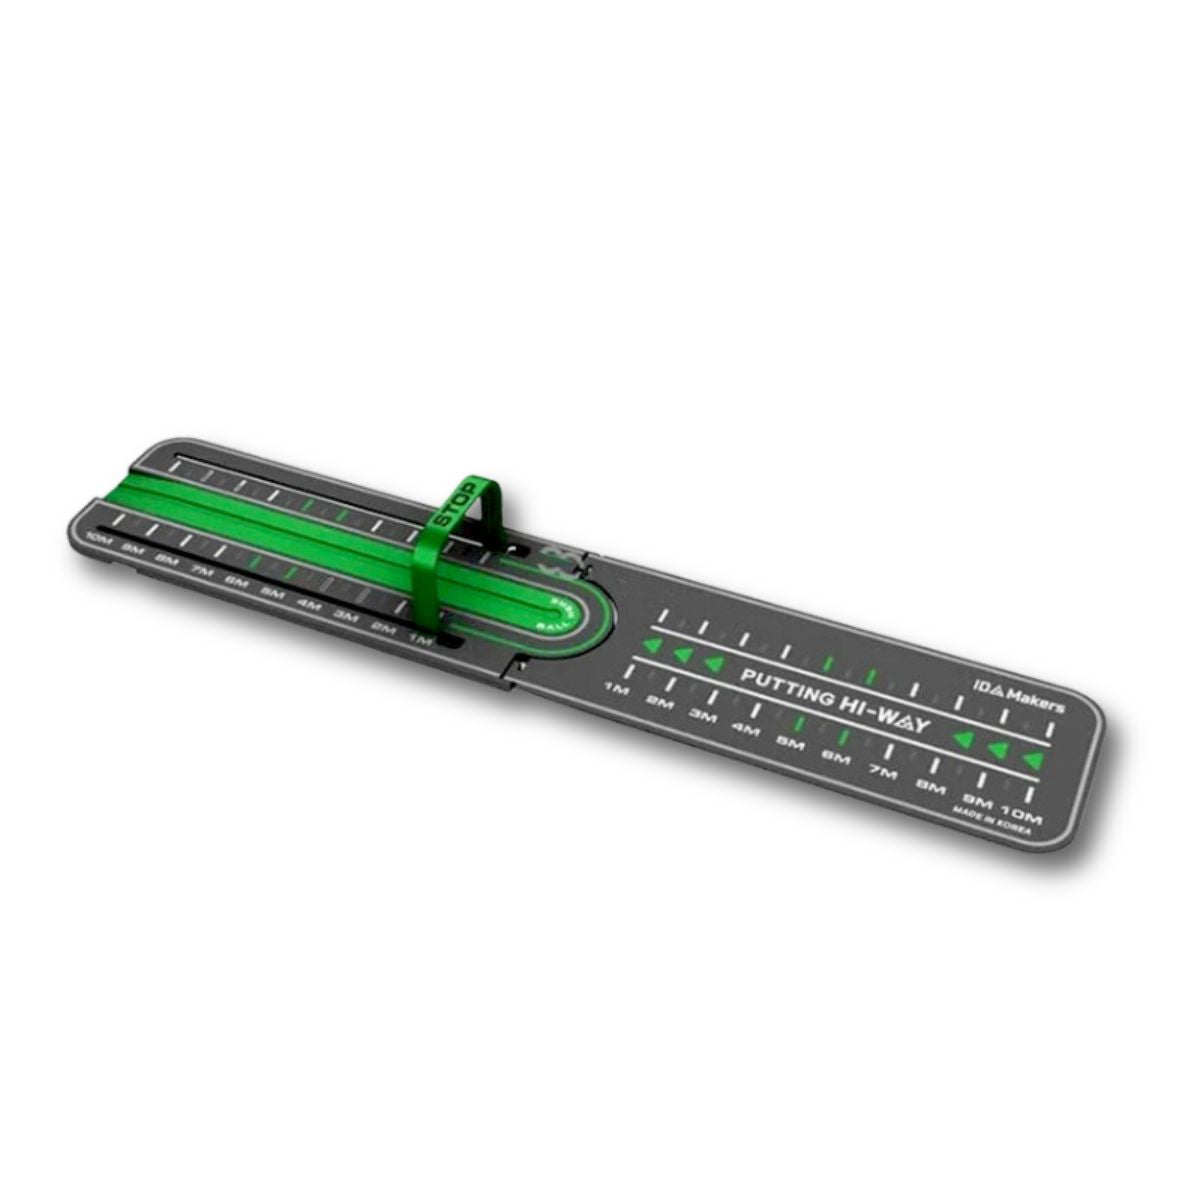
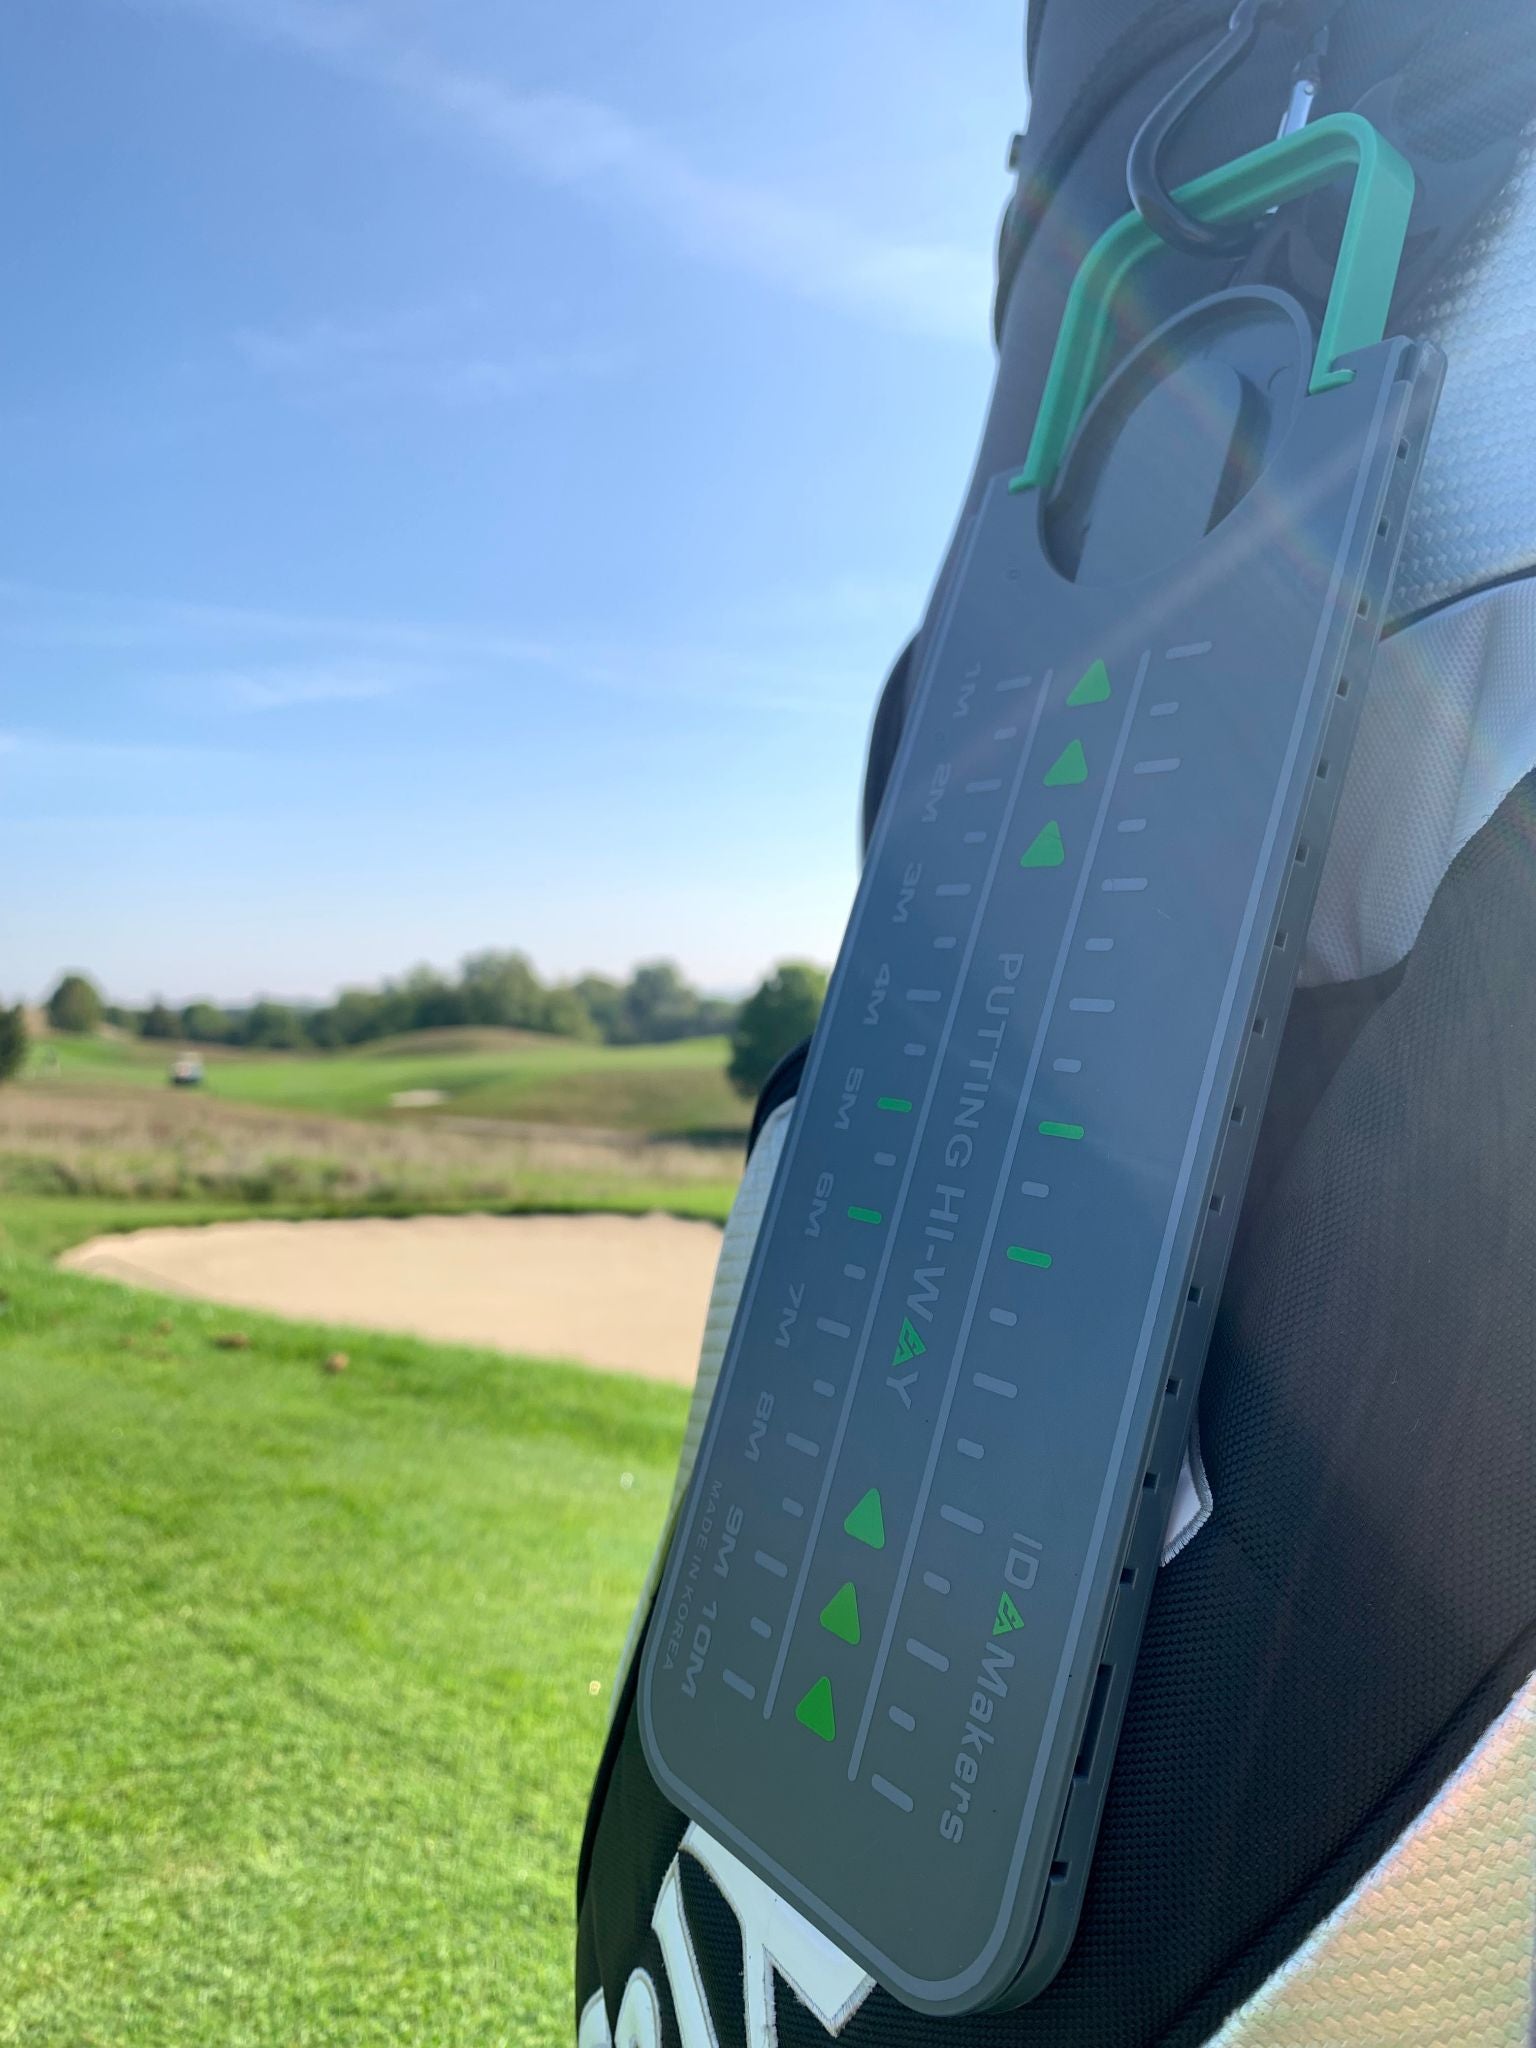
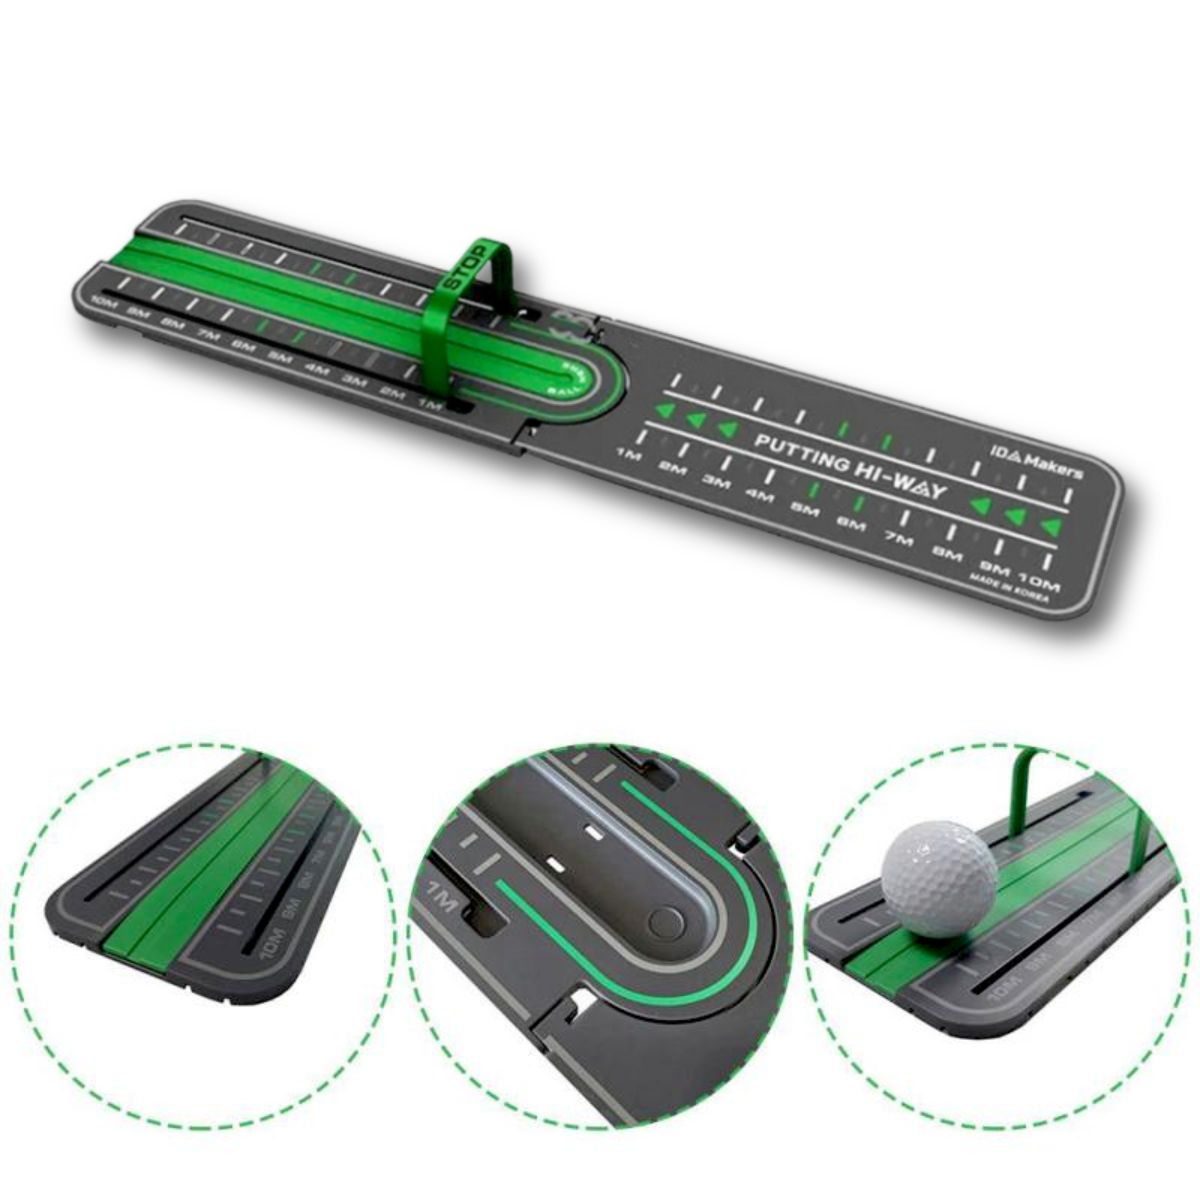
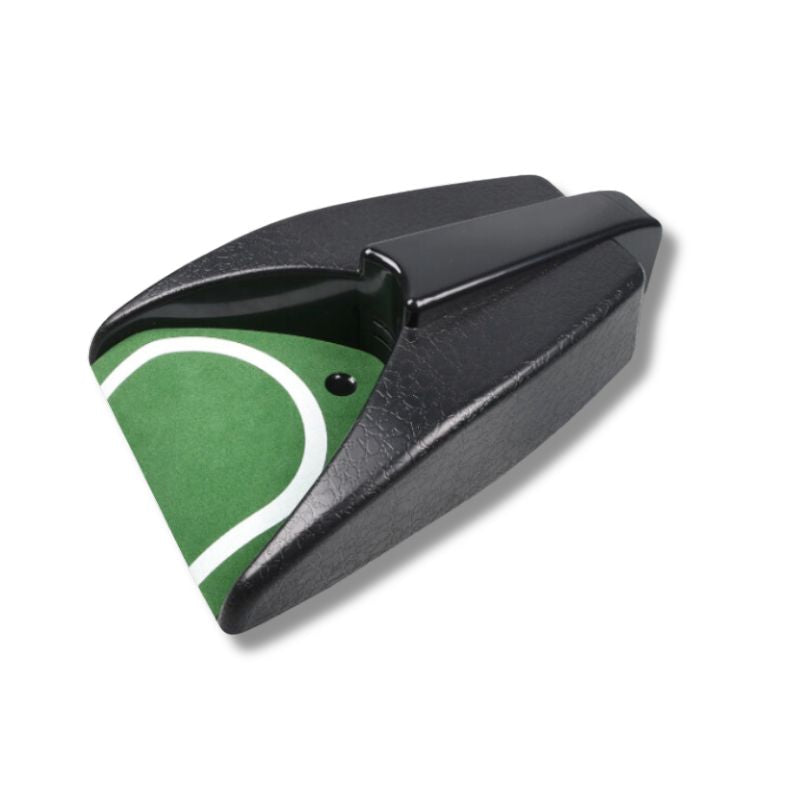
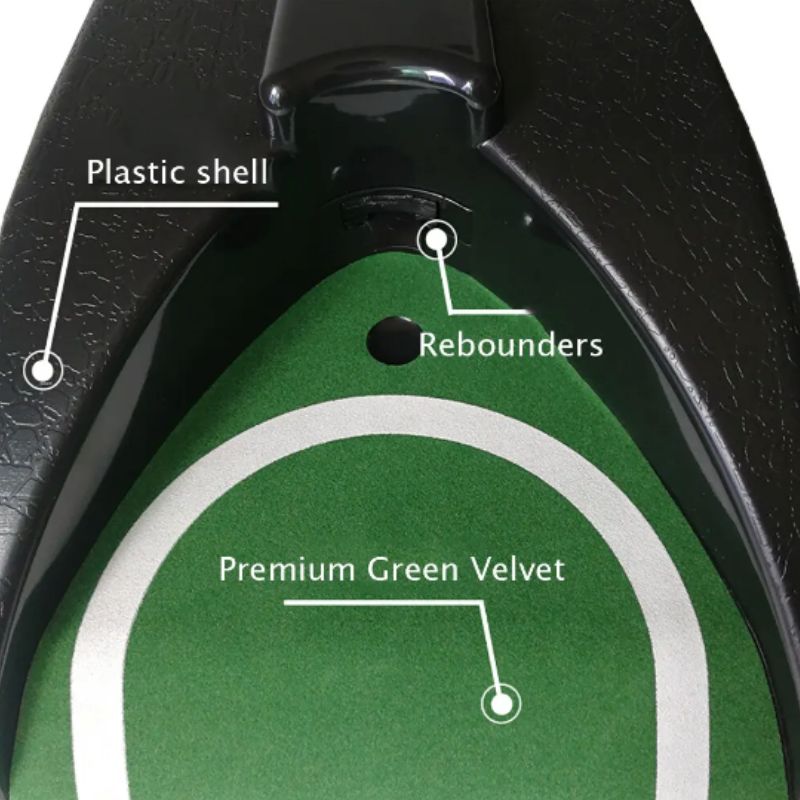
The key to rolling more putts and lowering your scores is putting alignment knowledge. Even the game's greatest golfers practice for hours and hours on their stroke, ensuring that they start each and every one of their putts on the proper line. If you are having a difficult time being consistent or missing putts that you need to be rolling, then you need to be practicing putting alignment.
This lesson will guide you through basic putting alignment practice using putting golf balls and simple tips to practice so that you become more accurate. Let us proceed with the best putting tips to help you play like a professional.
Why Is Putting Alignment So Important?
Precise putting alignment ensures your ball starts moving in the right direction as soon as it strikes. In the absence of alignment, a perfect stroke will continue to mean wasted putts. This is why alignment is absolutely critical:
✅ Avoids unnecessary strokes – Misalignment leads you to compensate with your stroke, leading to inconsistency.
✅ Improves consistency – The better aligned your alignment is, the more consistent your putting stroke.
✅ Builds confidence – If you are confident that you are correctly aligned, you are able to focus on speed and touch.
Now, on to the best putting alignment drills to transform you into a more consistent putter.
1. The Chalk Line Drill
What It Works On:
• Visual alignment
• Stroke consistency
• Straight putts
How to Do It:
- Draw a chalk line on a flat, smooth section of the green from your ball to the hole.
- Place your putting golf ball on the line and ensure your putter face is square to it.
- Stroke putts along chalk line, with the ball rolling end-over-end without wobble.
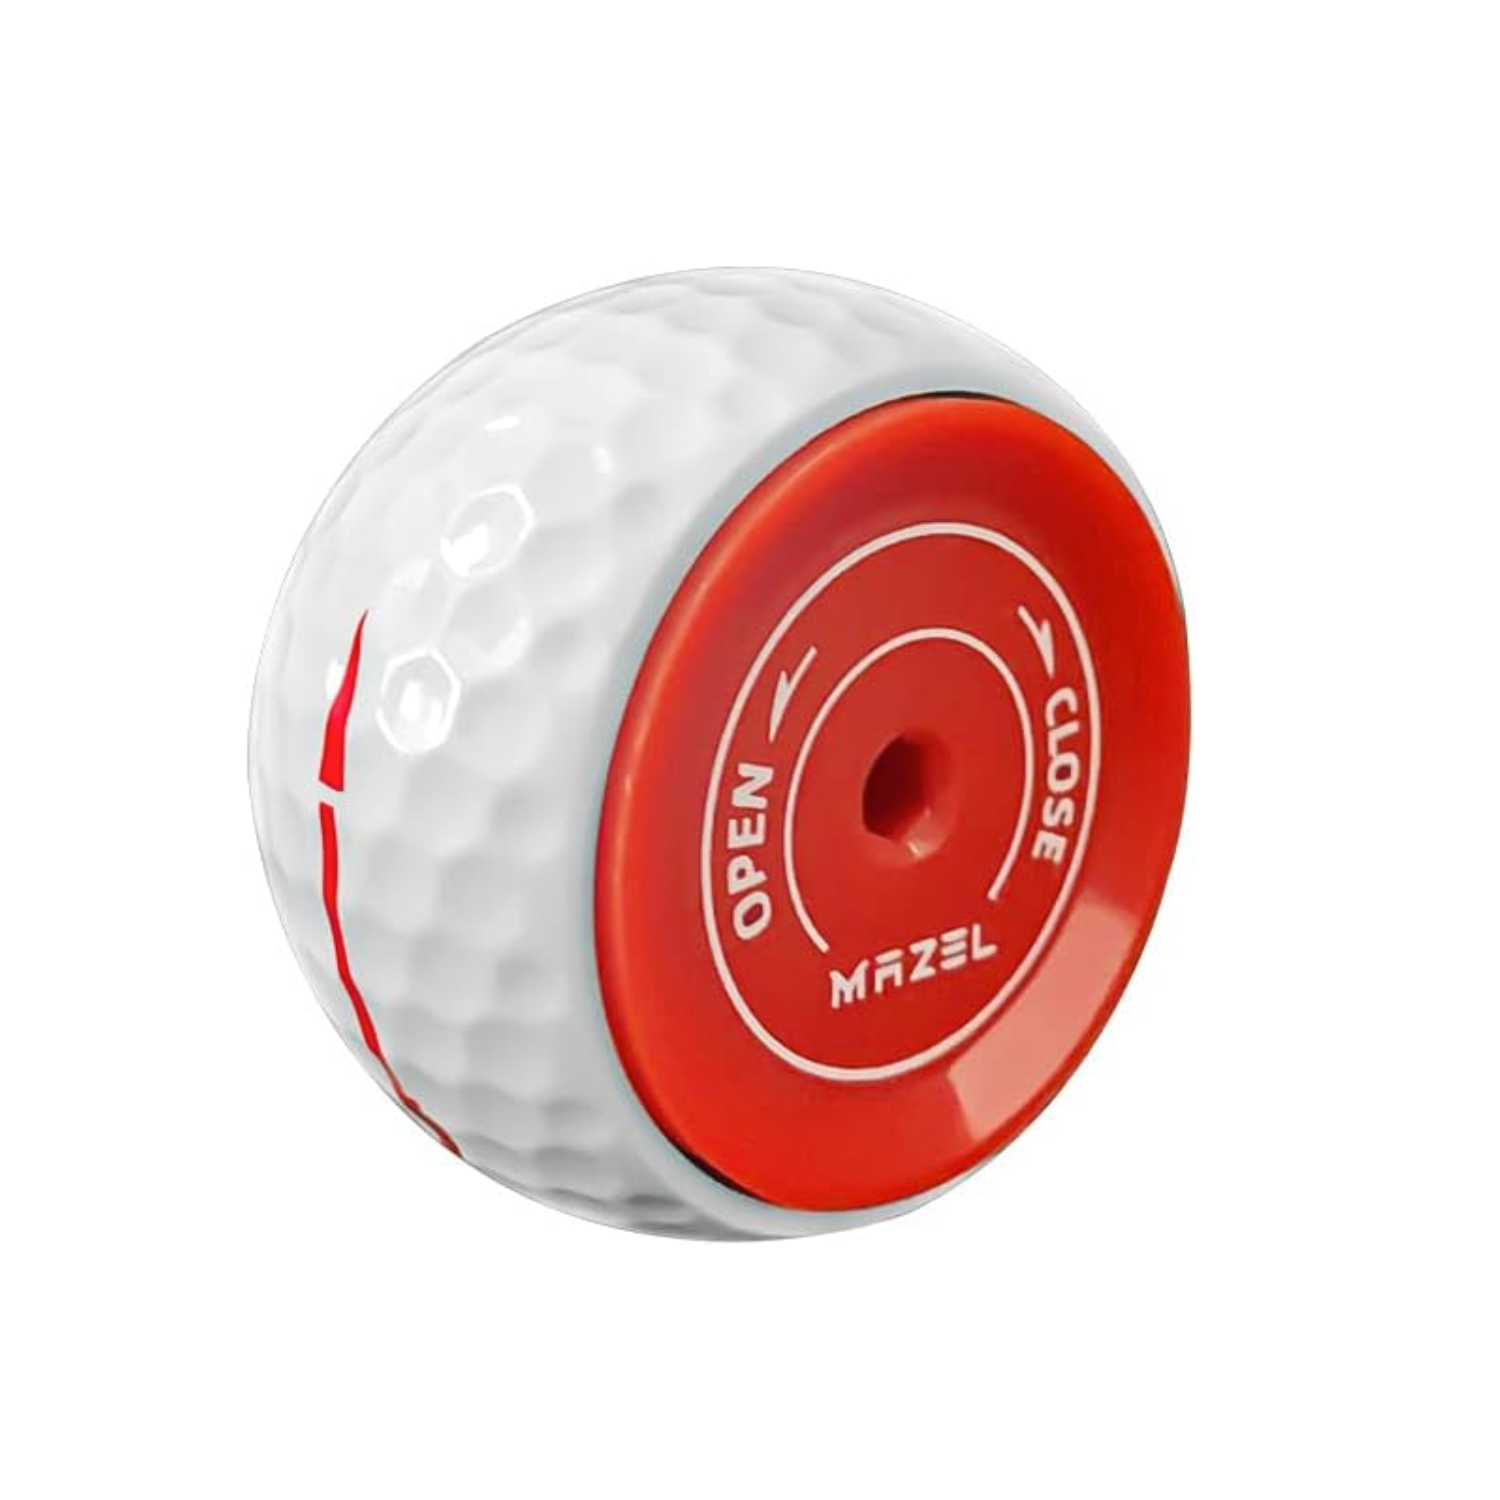
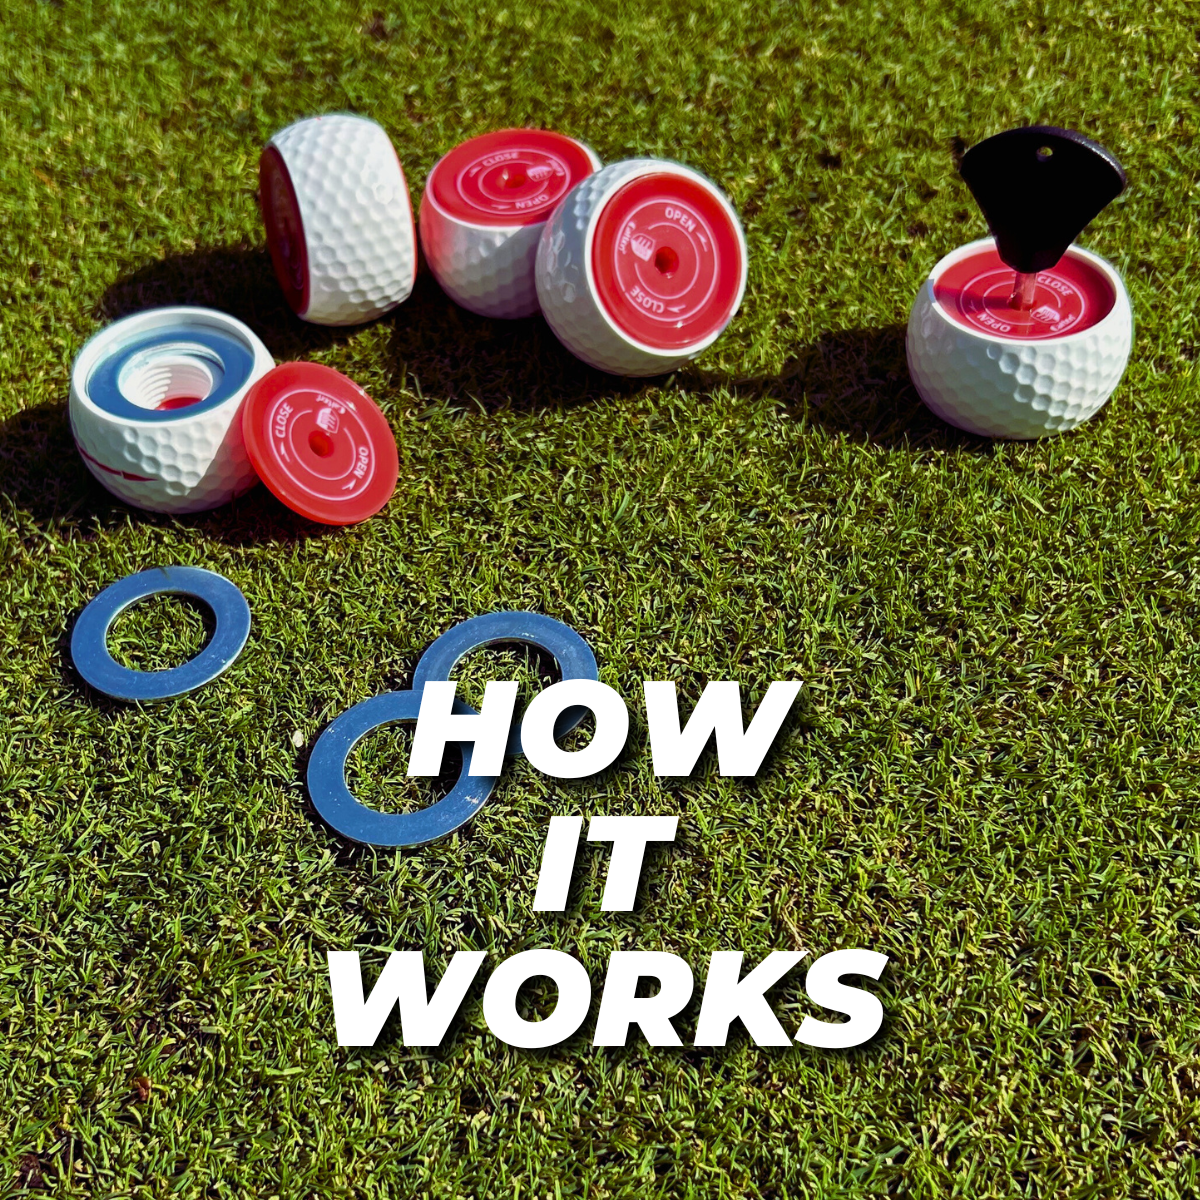
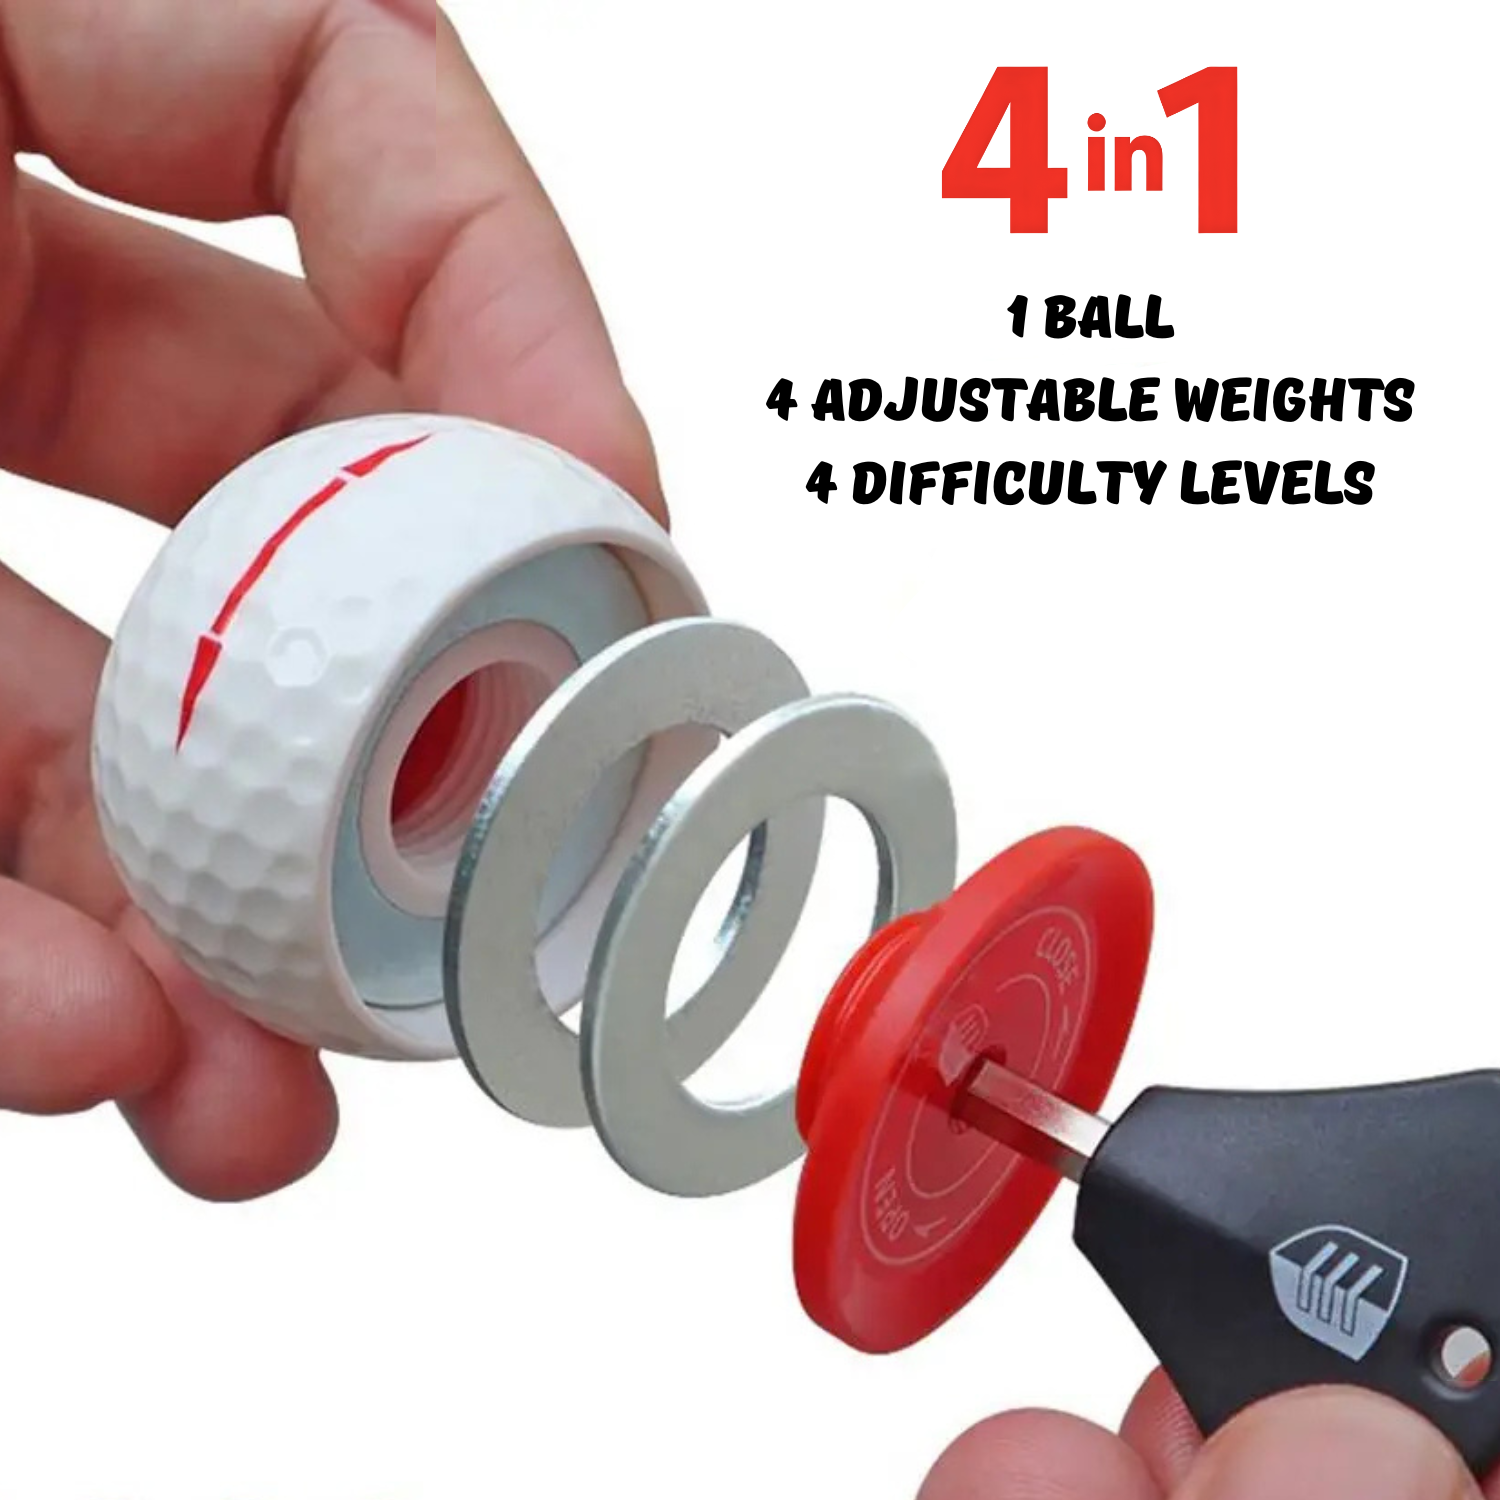
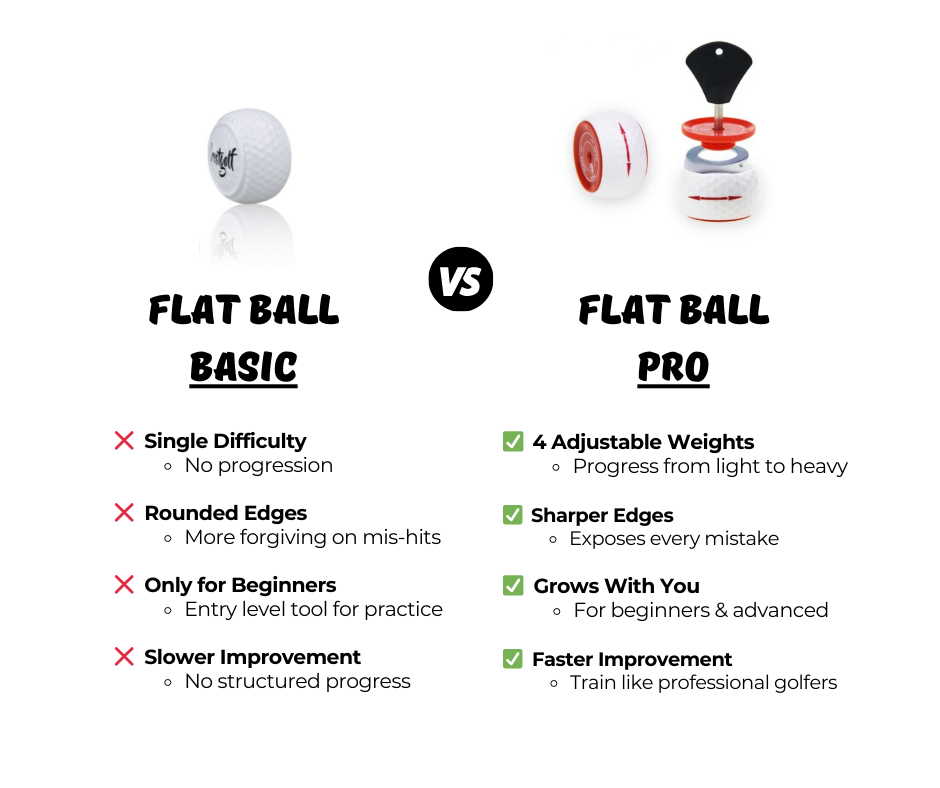
Tip: Flat putting balls can be utilized to do this drill so that immediate feedback is obtained as to whether or not your putter face is aligned correctly. If the ball wobbles or skids, your stroke needs to be adjusted.
2. The Gate Drill
What It Addresses:
• Alignment of putter face
• Direct sweet spot contact
• Rolling the ball dead center through
How to Do It:
- Set two tees apart the width of your putter head to form a "gate."
- Place a ball outside the gate and align your putter face directly.
- Roll the putt through without contact with the tees using your putter.
Tip: If your putter strikes the tees, your stroke is off-center. Practice your putting alignment drills until you hit the ball cleanly every time.
3. The String Line Drill
What It Works On:
•Visualization of the target line
•Consistent stroke
•Confidence building
How to Do It:
- Draw a length of string between two alignment rods placed just outside of your target line.
- Position your putting golf ball on the center of the string.
- Place with the ball rolling along under the string without deviation.
Tip: This exercise causes you to focus on rolling the ball straight to the hole and maintains your stroke on the target line.
4. The Mirror Alignment Drill
What It Works On:
• Eye and shoulder alignment
• Square putter face position
• Consistent setup
How to Do It:
- Use a putting alignment mirror to make sure that your eyes, shoulders, and putter face are aligned.
- Stroke putts while keeping your eyes directly over the ball.
- Ensure your putter face is square to the target line.
Tip: A flat putting ball can enhance this drill by showing whether you’re making clean, square contact.
5. The 1-2-3 Distance Drill
What It Works On:
• Speed control
• Line control
• Adjusting for different distances
How to Do It:
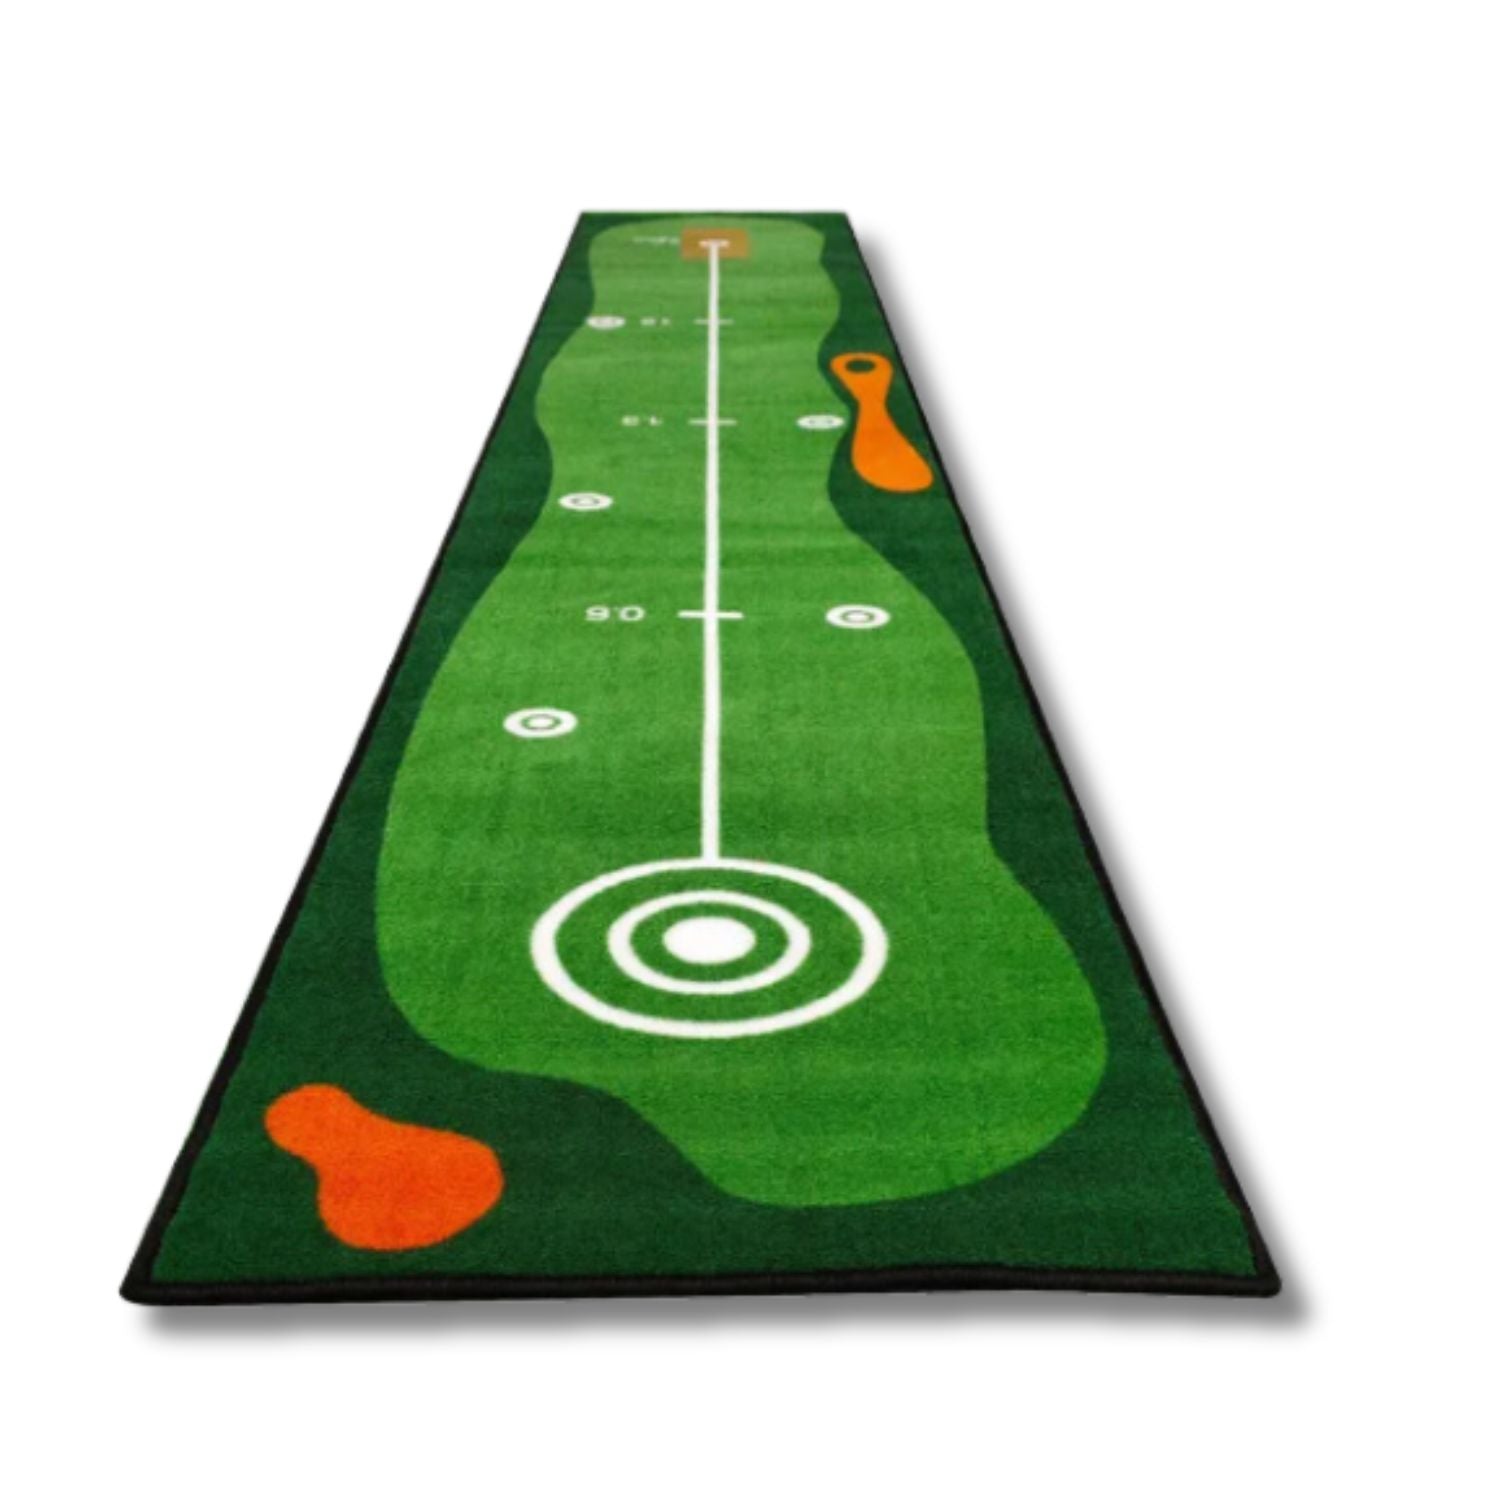
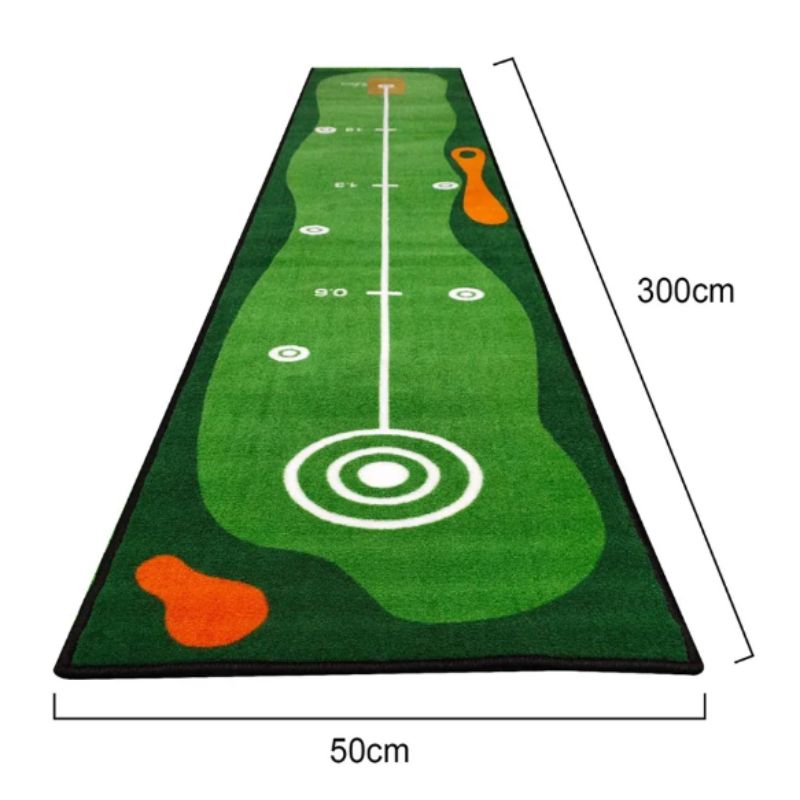
- Place markers at 3, 6, and 9 feet from the hole.
- Start at 3 feet, three in a row of putts, then move on to 6 feet.
- Do it again at 9 feet.
Tip: Add putting drills on alignment and distance drills for precision without compromising control of speed.
6. The Clock Drill
What It Works On:
• Precision
• Green reading
• Overall confidence
How to Do It:
- Set up six balls in a circle around the hole, all at the same range.
- Stroke putts from each position, aiming to sink as many as possible.
- Focus on your putting alignment drills to ensure each stroke is on the correct line.
Tip: If you’re struggling with alignment, go back to using a chalk line or alignment aid until your stroke feels natural.
7. The Alignment Stick Drill
What It Works On:
• Shoulder alignment
• Stroke path
• Starting the ball on the right line
How to Do It:
- Position your alignment stick on the floor, pointing it in the direction of your target.
- Position your ball on the edge of the stick.
- Practice your putting, ensuring the ball travels in the line of the alignment stick.
Tip: One of the best. putting alignment drills for checking whether your stroke pulls or pushes the ball off-line.
Bonus: Mental Alignment Tips for a Confident Stroke
✔️ Pre-Putt Routine: Develop a consistent routine before each putt to reinforce alignment and confidence.
✔️ Visualize the Line: Imagine the putt rolling toward the hole before making your stroke.
✔️ Trust Your Alignment: If you’ve practiced your drills, trust that you’re aiming correctly—doubt can ruin an otherwise great putt.
Final Thoughts: Commit to Alignment, Lower Your Scores
Perfecting your putting alignment isn’t just about hitting putts straighter—it’s about building confidence, making more two putts, and ultimately, lowering your golf scores. With dedicated practice using these putting drills for alignment, you’ll develop a rock-solid stroke that holds up under pressure.
Start incorporating these drills into your practice session today. Flat putting balls or regular balls, repetition and consistency is the key. Align like a pro, and you'll start making more putts!
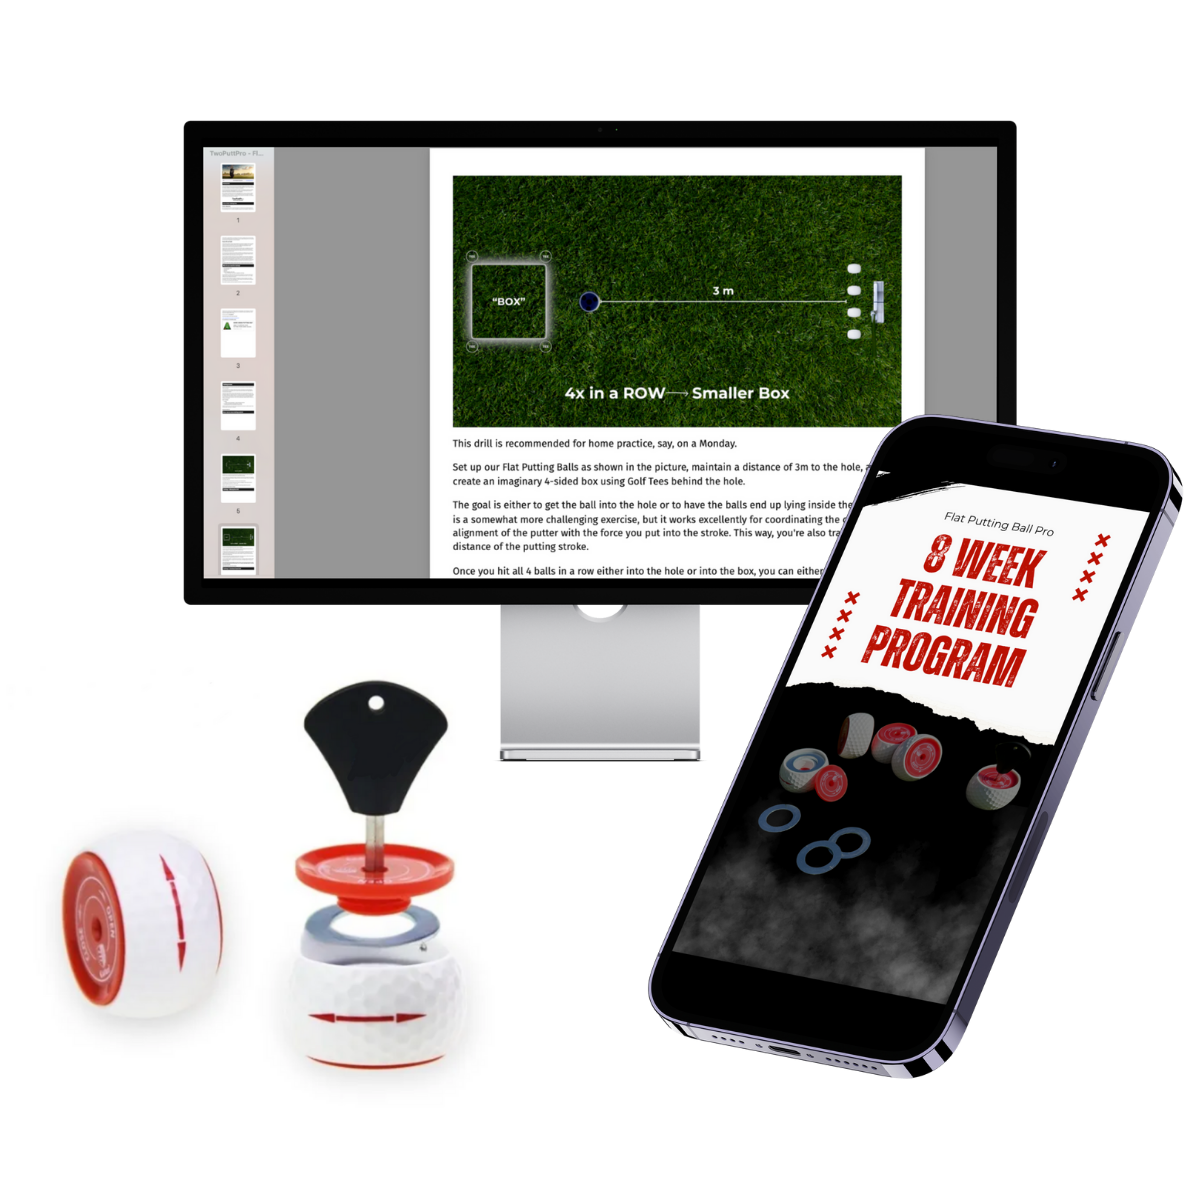
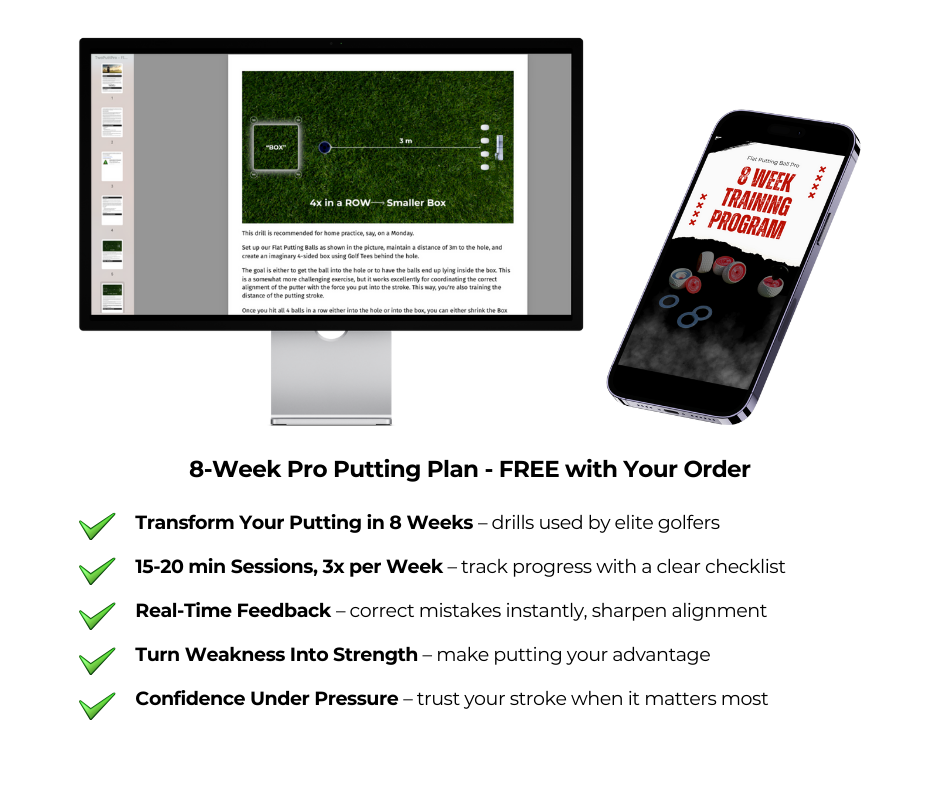
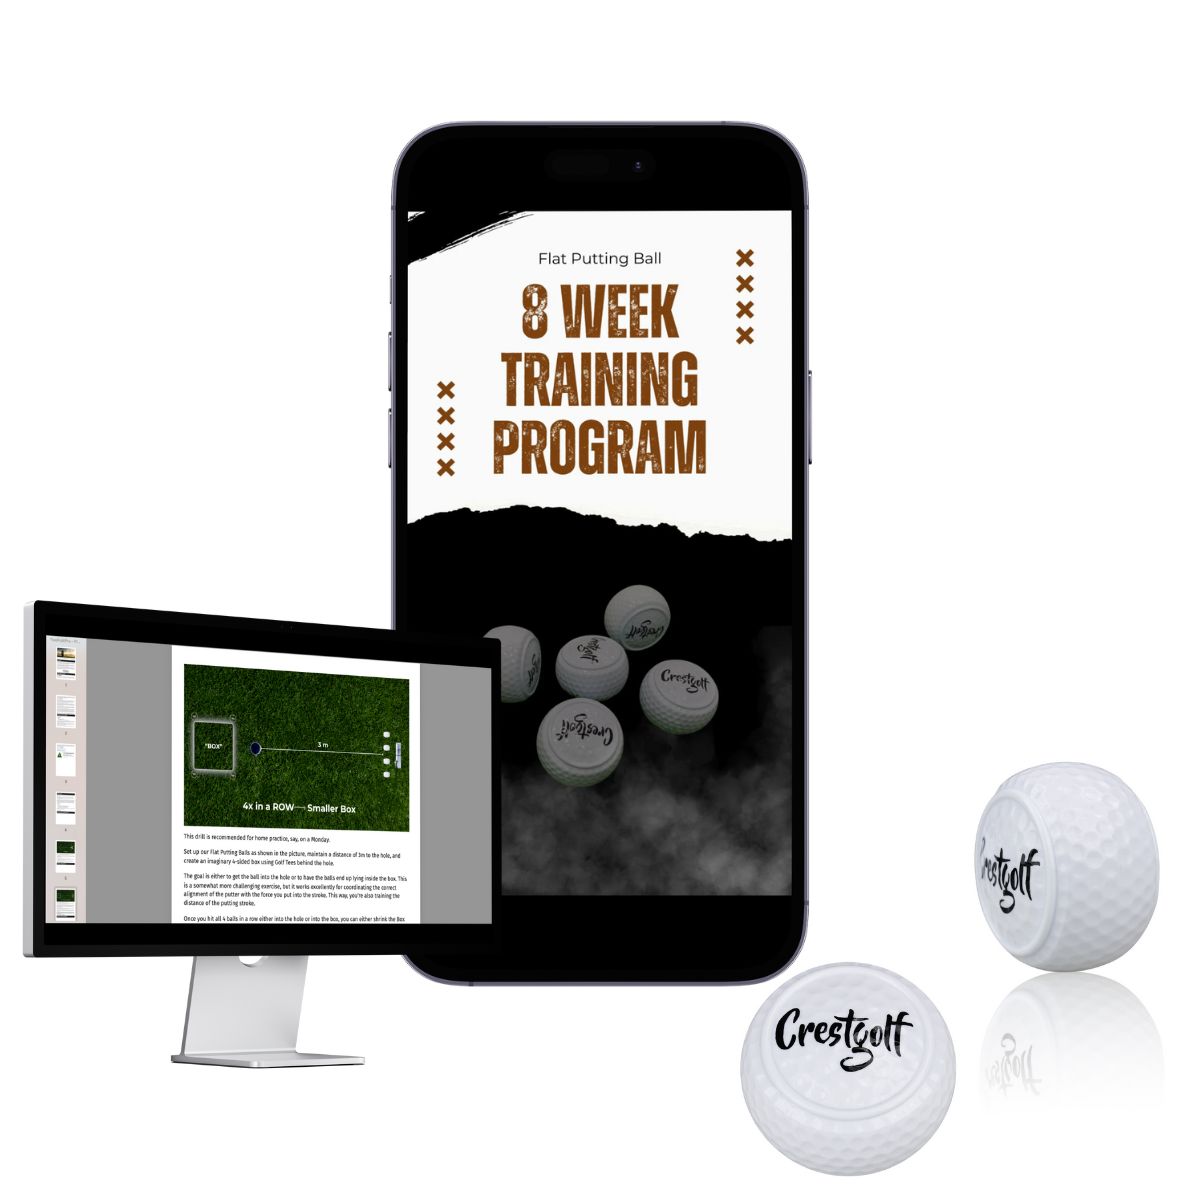
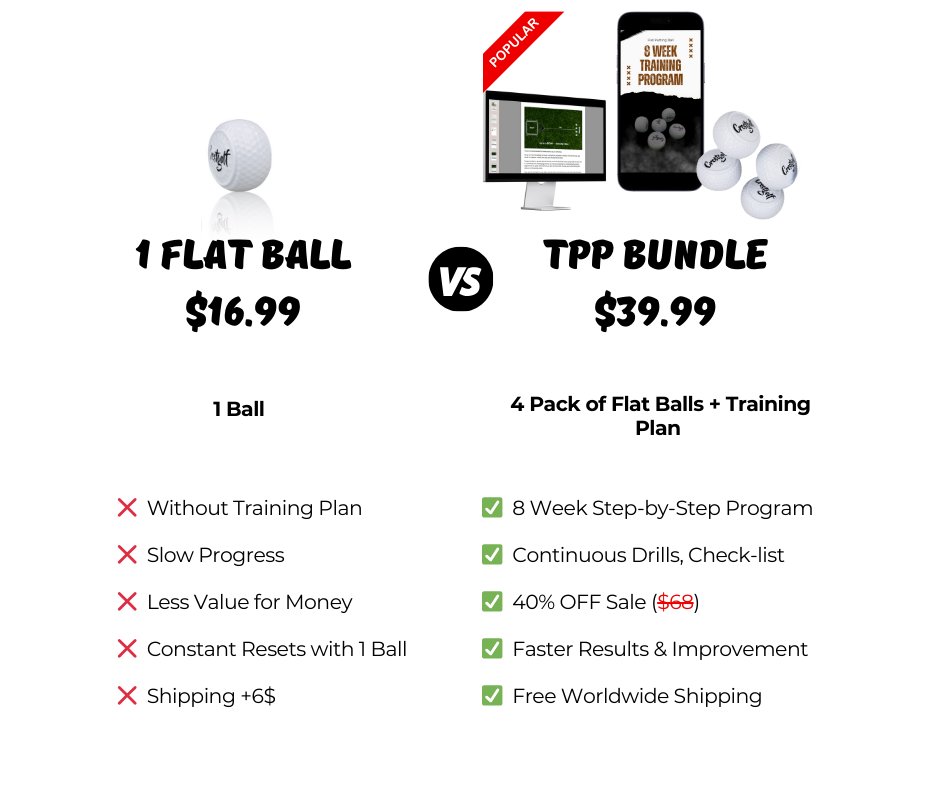
Would you like to keep improving on putting? Check out our Putting Alignment Training Package with flat putting balls and an 8-week training schedule for dedicated golfers who want to nail their stroke!
⛳ Better today – because the best golfers never stop practicing!

